


The rose is made from six 1.5-inch and four 1.25-inch scalloped circles punched from a page of the dictionary. I stacked them all together, smaller ones centered on top, and used a paper piercer to punch a hole through the center which I secured with a small brad. then I smooshed each layer up tightly, inked the edges with my English Red ink pad (Marvy Matchables dye ink) and then un-smooshed them some. This is a very technical process, LOL! This is a variation on the "poofy flowers" from Dawn McVey's blog.
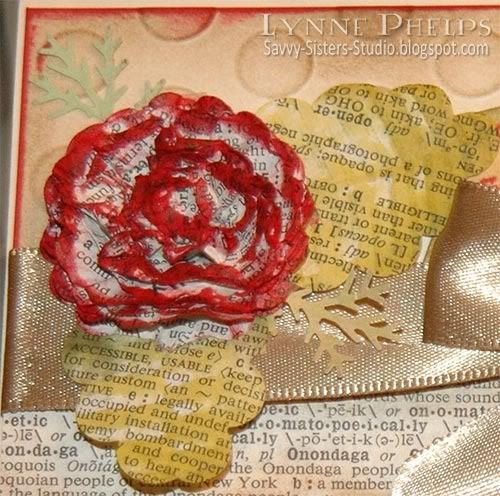
The leaves were also made with the scallop circle punch, first punching a circle and then moving the circle over and chomping some off to make a leaf shape. Then I folded them in half and ran them through my paper crimper. Remember paper crimpers? Hah! I ran the Old Gold ink pad (Marvy) over the crimped surface to add some olive green color. A couple of branch punches (Martha Stewart) were tucked in to add more texture.
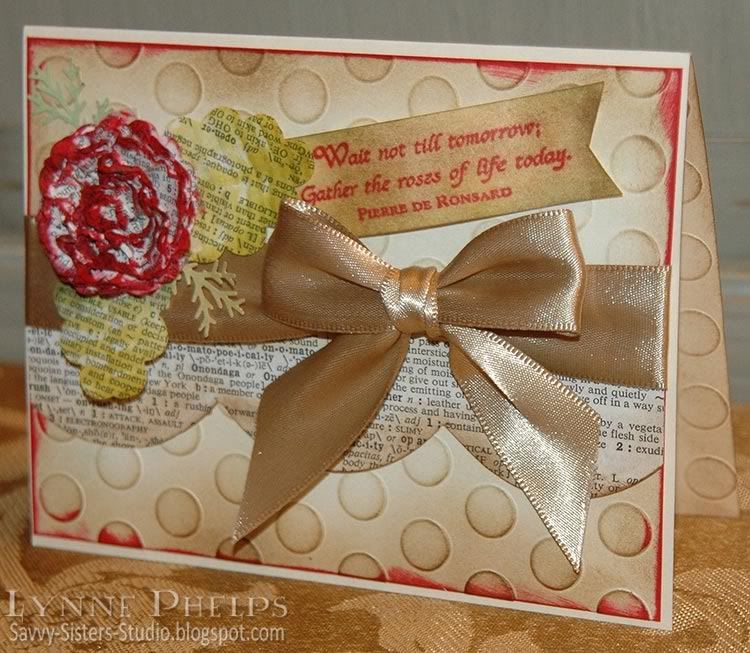
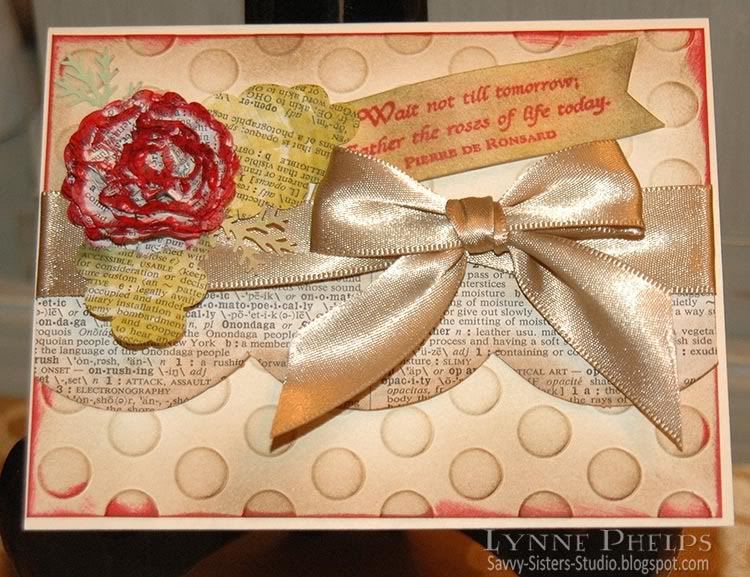
Then I used more dictionary paper, trimmed with a large scallop border punch (EK Success) and sponged with tan ink (Tim Holtz - Corduroy Distress Ink). I also heavily sponged the embossed background (Large Spots Quickutz Folder) with Corduroy ink. I swiped the edges with the English Red inkpad. A lovely champagne gold ribbon wrapped around and a beautiful bow (thank you, Bow-Easy!) seemed like the perfect elegant contrast to all the shabby sponging.
The sentiment was stamped in English Red on a scrap of cream cardstock. I notched the ends and sponged with Old Gold in the center and Pond Green (Marvy) around the edges, with a little Corduroy (Distress) over the top to grunge it up a little. I curved the cardstock and left a little curl in it when I stuck it down.
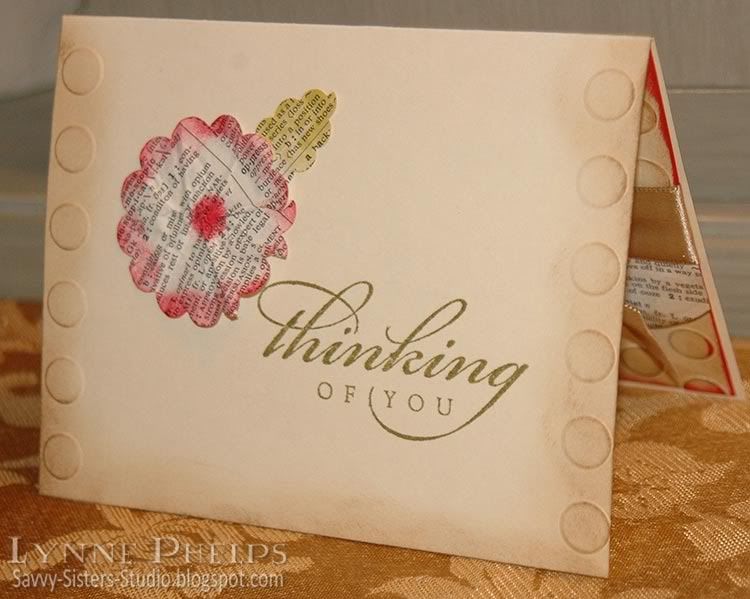
Of course you can't forget the inside! Several of you have asked me to show the insides of the cards so I am trying to get better about remembering to photograph them! I embossed each edge with the large dots folder by just tucking the edge of the card into the embossing folder. Love how that turned out - I'll be doing that again for sure! I sponged it with Corduroy (Distress) and stamped the sentiment (SU) in Pond Green (Marvy). I took another scallop punched circle, this time 2-inches, and sponged the edges and dotted the center with English Red. I smooshed it up really good and then unsmooshed it and adhered it to the card. The leaf was a circle with some punched off to make a leaf shape.
I am really thrilled with this card!! I have not done too much with Shabby Chic, but with all these old dictionaries to use up, I think you'll be seeing me explore this style a lot more! What do you think? Does it work for you? Please leave me a comment - I really LOVE hearing from you! Thanks for looking!


Hi Lynne :)!!! It was so fun to meet you and your friend!!! I'm happy to hear you had a good time at the Flourishes booth!!!
ReplyDeleteLove your card...it's a BEAUTY inside and out!!! I also saw we are sharing the same PTI passion :)!!!
Have a wonderful weekend and I'm looking forward seen more of your cards!!! Hugs ~S~
Clever ideas, and well done, lovely!
ReplyDeleteNice idea i really like it you are so clever & so gentleman great job. Pakistan flowers
ReplyDelete