Sunday, June 26, 2011

Celebrating the Mad Hatter


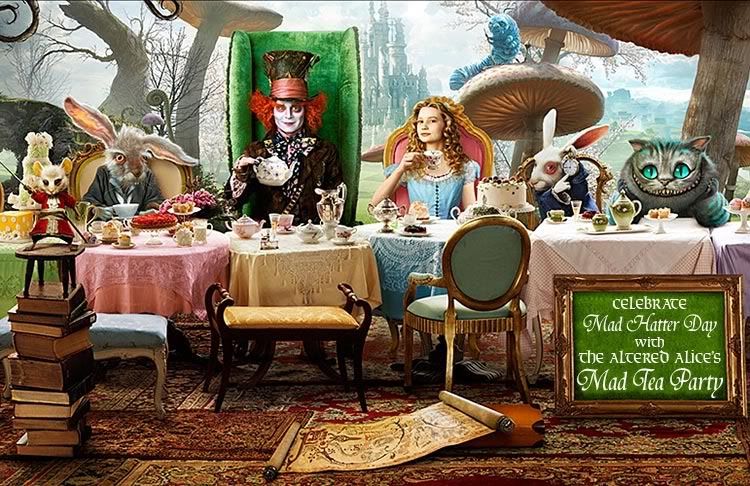
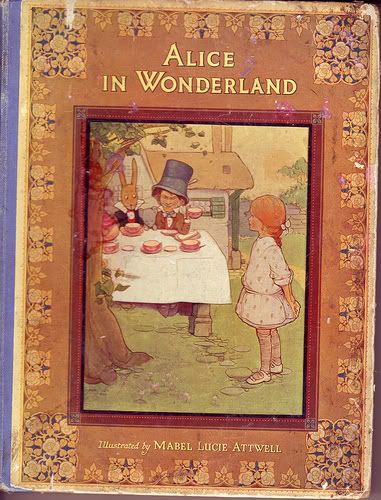
The challenge this month on The Altered Alice was to celebrate Mad Hatter Day, and the whole design team was given this same stamped image by Jennie at The Artistic Stamper. I really love these vintage Mabel Lucie Attwell illustrations of Alice in Wonderland that The Artistic Stamper has translated into rubber.

Attwell was born in England in 1879 and by 1914 had established her trademark style of illustrating roly-poly toddlers, loosely based on her daughter's appearance at that age. By the 1920s her children's picture book illustrations had captured the public's fancy. In fact the author of Peter Pan specifically requested that Attwell illustrate her gift book edition. If these appeal to you, The Artistic Stamper has several of these charming Attwell toddler drawings in rubber! And remember - free worldwide shipping over £35!

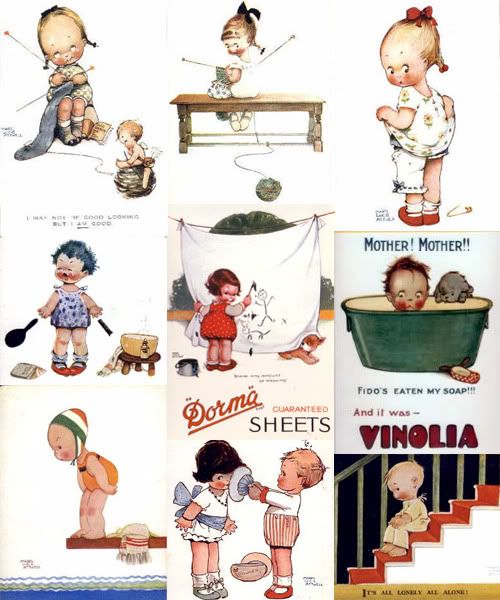
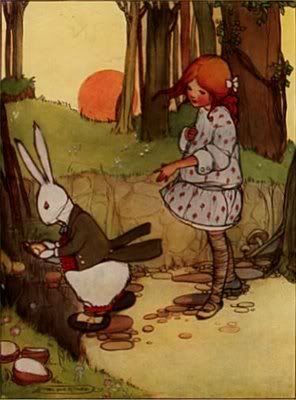
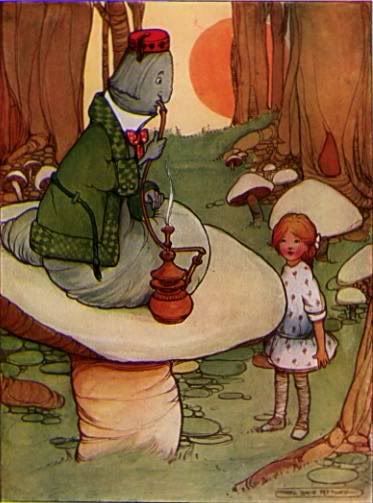
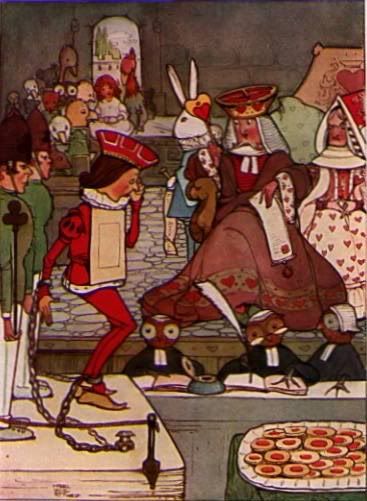
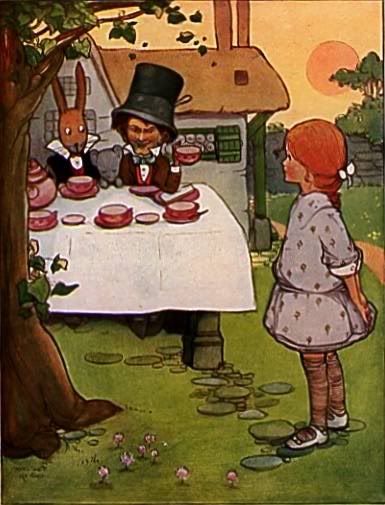
Attwell's illustrations of Alice in Wonderland are in quite a different style, and I was really inspired by the original color illustrations when I created my piece. First off, Attwell's Alice was a redhead, and as a redhead myself I approve! She wears the drop waist dresses typical of that period, and all the illustrations have a retro-vintage charm that stops short of being cute.

Here are some of the illustrations that inspired me - click to enlarge:


Aren't they great? I hope The Artistic Stamper will come out with more Attwell Alice stamps! They remind me of British art pottery of the same period, with the stylized trees and restricted color palette.  I wanted to make my stamp look more like this image of the Mad Tea Party:


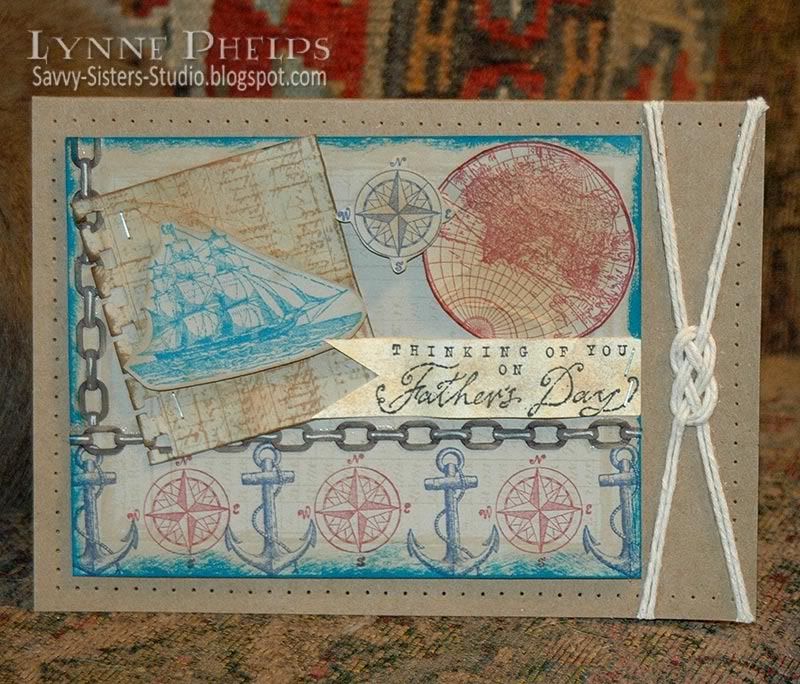
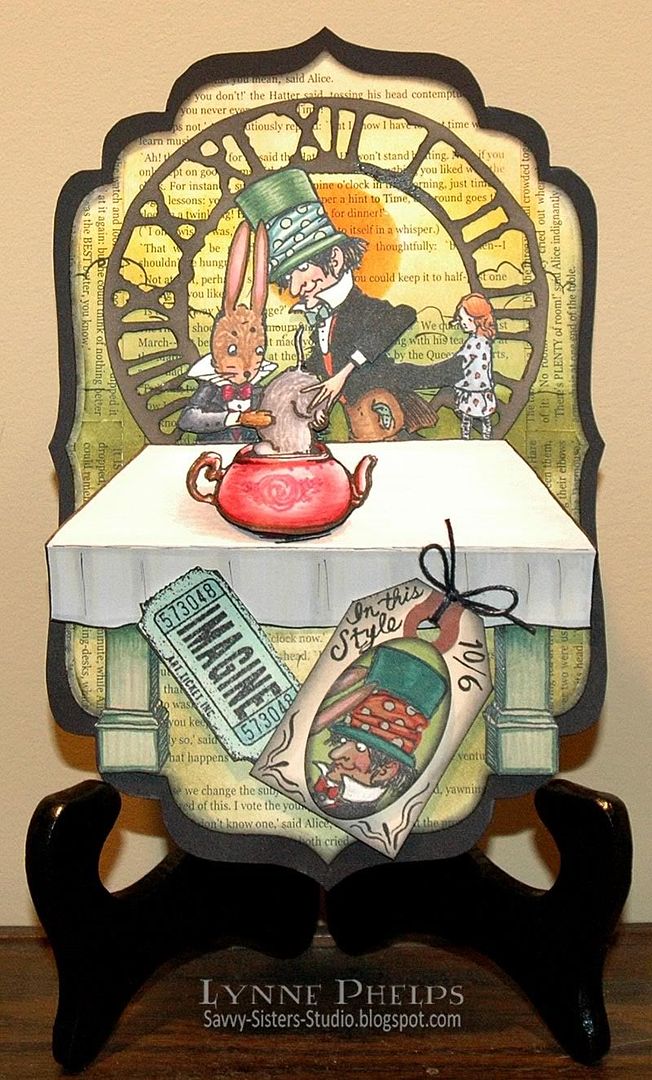
So the first thing I did after stamping the image on Beckett Radiance card stock with Memento Tuxedo Black ink was to use various weights of Copic Multiliner SP illustration pens to draw in the rest of the table under the teapot. You can see that I modeled my table legs on those pictured here, as well as the yellow skies, orange sun and yellow-green foreground. I also colored the clothes and the teapot and teacups to match this illustration.  Then I trimmed it out carefully with my Cutter Bee non-stick scissors, which are my favorite for intricate fussy-cutting.  Now what to do?

I knew I wanted to have the book text in the background. I tried to find a likely background shape amongst my die cuts and I decided the Grand Label Four Nestability shape would work best. I used the next the the largest die to cut my text covered card stock. It is the actual words from the Mad Tea Party chapter of the book!  I sponged the background with Distress Ink in Scattered Straw, Mustard Seed, Shabby Shutters and Peeled Paint. I took the brush Copic Multiliner pen and loosely sketched in a horizon line and some bush outlines above it. I made a mat by tracing along the inside rim of the largest Grand Label Four die and glued the two together. Now my background was complete, but the table was really bugging me. I wanted it to have dimension. It also looked disproportionate, as I had to draw the table top front edge so low due to the position of the teapot.


Then I had a brainwave! I scored the cut out image along the front and back of the table. I attached it to the background with dimensional foam mounting tape, centered on a Sizzix Weathered Clock die cut. I stamped and colored the Mad Hatter and March Hare arms, Dormouse and teapot and added that layer as you can see above.


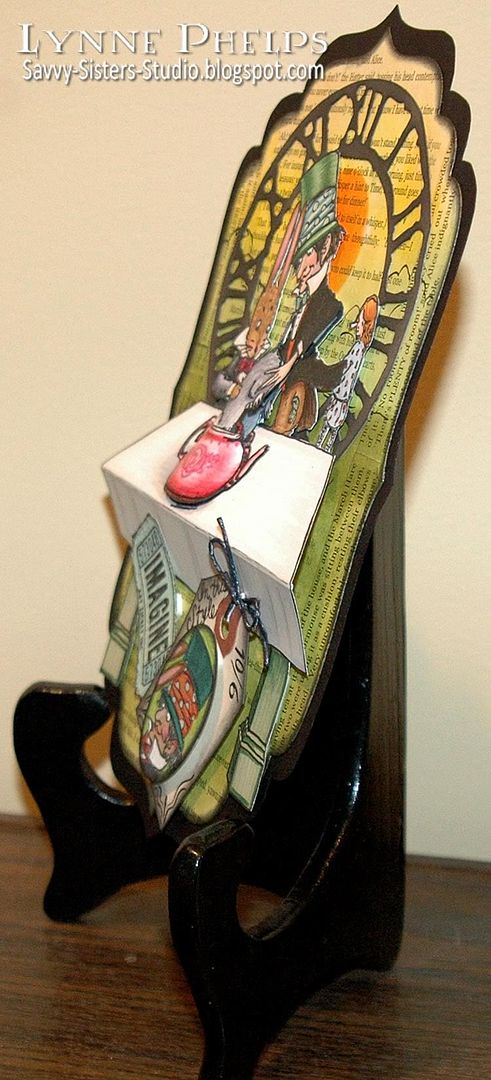
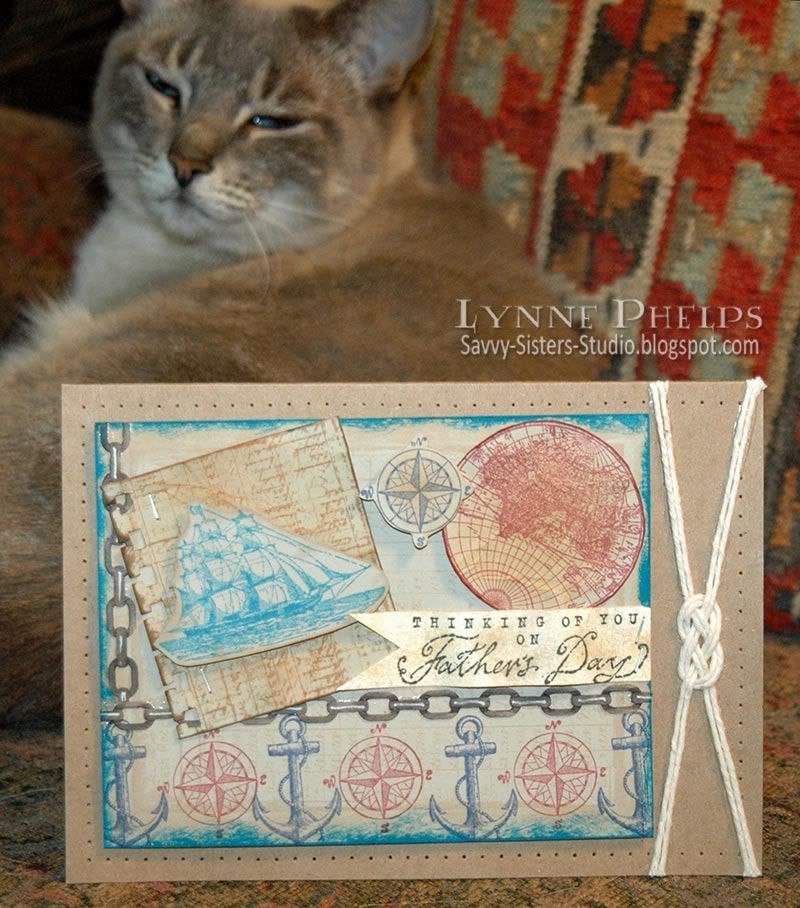
Then it looked too empty under the table. I made a little price tag with another image stamped on kraft card stock and colored with pencils. I added an "Imagine" ticket and it was done! I wish I could tell you how cool this 3D effect is in real life!  Now it is even more so as I added a layer of Glossy Accents over the entire teapot to make it shine.


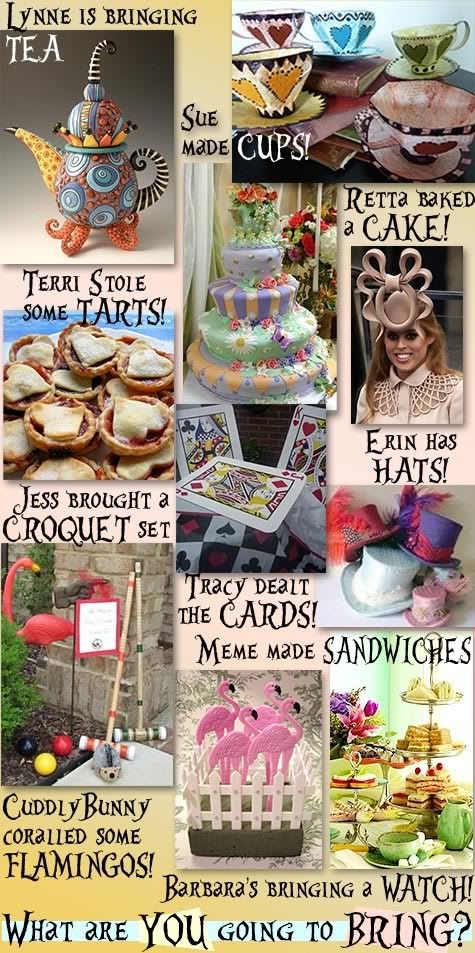
 You can see the rest of the design team's creations here: Original challenge post, Week 2, Week 3, and Winners & Honorable Mentions. Going last has it's advantages, as Tracy/CuddlyBunny's project on book text was a major inspiration, and the Glossy Accents coating to give the teapot a glass effect was inspired by Terri DeVine's stolen tarts project!

Please leave me a comment and let me know what you think of my dimensional Mad Tea Party!

Altered Alice Mad Tea Party Winners!


The winner and honorable mentions have been announced on The Altered Alice!

The post also shows my challenge creation.  I will post all the details here later today, so PLEASE check back later to take a look!

THANKS!

Sunday, June 19, 2011

Happy Father's Day to My Wonderful Dad!

I have the most wonderful father in the whole world, and he means the whole world to me!  They say that we don't remember days, we remember moments and every moment with my Dad is a treasure. So a "world" theme seemed very appropriate for Father's Day!


Well, my wonderful Dad has a tardy daughter, as he will be seeing this card for the first time on the blog! I did not finish it until yesterday; I had all my bits and pieces ready earlier in the week but just couldn't get the arrangement the way I imagined it.  I'll get it in the mail tomorrow Dad, but in the meantime, enjoy this blog version!

This card uses "The Open Sea" stamp set from the Stampin' Up! Summer Mini catalog and it is only available until the end of August! Please contact me if you would like to order it; the coordinating designer paper is absolutely yummy. I have ordered it and I think I will get it in the digital paper set also.  My sister is an SU demo and we'd be happy to hook you up with this wonderful set, and by going through a demo you would get the preferred pricing on your order.

The problem I was having is the card front was too crowded. Then I decided to mount the A2 card front (Sahara Sand SU card stock) on a larger 5 x 6.5 inch kraft card base. I was going for a cluttered collage look, but it needed the blank space of the larger card base to ground it.  I decided to mount it off center and balance it with a sailor's knot. Then I needed something to unite the two elements, and a pierced border was the perfect element to tie everything together. The pierced border was created with the Stampin' Up! Mat Pack. This 3-part Mat Pack is always on my craft table within reach, just like my scissors and Stamp-a-Ma-Jig.


I did not have a stamp with the sentiment I wanted, so I just wrote it in white gel pen along with the stamped world and compass images. I also repeated some of the images on the left front of the envelope, just for fun.


Dad really loves my two cats; in fact he calls them the "grandcats" and always asks after them when we talk on the phone. I was trying to get a photo with Abita's big turquoise eyes looking over the top of the card, but she started drifting into a little cat nap during the photo shoot. It is crazy; I can't keep them OUT of the picture when I am taking pictures of my cards, but when I am TRYING to include the cat, she decides it is time for a snooze! Oh well.

Happy Father's Day to my wonderful Dad, and you'll get the real card in the mail this week!  I love you bunches!

Sunday, June 12, 2011

Birthday Style for Hannah!


My wonderful niece turned 20 a few days ago; where do the years go? It seems like she was a darling four year old who loved purple just a few days ago!  Now she is a very sweet, smart, and stylish college student and I am so proud of her.  I had some paper that made me think of her, and although Hannah is not into vintage fashion, all the sentiments in this Sew Stylish stamp set by Hero Arts made me think of her!

The Polka Dot Paisley paper was the jumping off point for the entire project. It is part of the Funky Vintage - Lizzie Collection by Making Memories, which I received as a gift from my stamping friend Judy! I stamped the models, two of the ruler stamp, and one of every sentiment in the set with Memento Rich Cocoa ink.  Then I colored them in with Copic markers, choosing colors from the paisley paper.

I cut out the sentiments with notched ends, then colored them with Copics to match the paper. Last were the rulers; I had to blend several shades to make it match the muted yellow in the patterned paper.


The 5½ inch square top-fold card base was made from Sage Shadow card stock (Stampin' Up!, retired). I cut out my fashion models, leaving a generous margin to help with the stability and durability of thin areas like their legs. I adhered the patterned paper with my Scotch ATG tape runner, I absolutely love this tape gun! The models were attached with foam pop-dots, then the sentiments were stapled on with the Tim Holtz Tiny Attacher.  I really love the petite scale of these staples, and I can use them on things that are way too small to attach with normal sized staples and it is such a neat look. Notice the way the placement of the yellow items both balances and guides your eye though the composition. The two long thin rulers bound the bottom and left sides are balanced by the medium sized fan shaped area in the middle of the pattern and the smaller sentiment in the upper right corner.


On the inside I stamped the birthday sentiment, followed by an Postmodern Design setiment slab saying "Be the Diva".  I used one of the strips I trimmed from the patterned paper to anchor the arrangement.


I used more snippets of paper to cover up the back of the staples. I also took a scrap of the Sage Shadow card stock to make a pocket for some money or a gift card. To make it more fun I border punched the top edge with a Martha Stewart Loops punch and glued a strip of ribbon across the pocket.

Happy Birthday Hannah!  And thanks to Judy for the Funky Vintage paper pad!  Please leave a comment before you go and let me know how you like Hannah's card.


We're Celebrating Mad Hatter Day with a Mad Tea Party on The Altered Alice!


We're having a Mad Tea Party on The Altered Alice, and The Artistic Stamper is our sponsor this month! In addition to creating something to celebrate the Mad Hatter, you also need to bring something to the tea party! Read all about Mad Hatter Day and why we celebrate it TWICE a year here, then see more amazing tea party inspiration from the the design team here.

Here's what the the design team is bringing to the Mad Tea Party:


So figure out what you are bringing to the party, make a project and come on over! Enter at The Altered Alice by Friday, June 24 at 9:00 p.m. Eastern Daylight Time (GMT -4:00) and we'll announce the winner of the £15 voucher for The Artistic Stamper stamps on Sunday, June 26!  And I'll see you next week with my own Mad Hatter project!

Related Posts with Thumbnails