


 My June Guest Designer spot on the Oh, Alice! challenge blog ended, and I was sad to see it end as I'd had such fun! You can imagine my joy when Jess, our Mad Hatter, asked me to join the real Design Team (or, as we say here in Wonderland, I was offered a seat at the Twisted Tea Party!) I missed our Chapter 20 Challenge to use red, white and blue as I was on vacation, and since Independence Day is over I am going to ignore that requirement and instead showcase the WONDERful sticker set from our sponsor for Chapter 20: EAD Designs! Play along and you could win a generous gift certificate from their store, and you could buy this Alice in Wonderland sticker sheet!
I have never used stickers before and I had a great time with these. The stickers are printed on a textured clear matte vinyl, but you also have the option of an opaque white material. I wanted the images popped up on dimensional pop-dots, so I adhered them to white card stock and trimmed them out. The words were adhered directly to my banner pennants so that the stamped diamond pattern shows through - it was nice to have that clear option! Another feature of the "Stickerz" that I appreciated is that the words are already trimmed out individually, which made it very easy to place each word exactly where I wanted it - I was not restricted to the way they were presented on the sticker sheet. Nice job, EAD!!
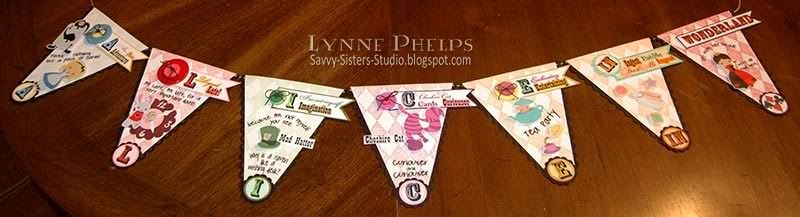
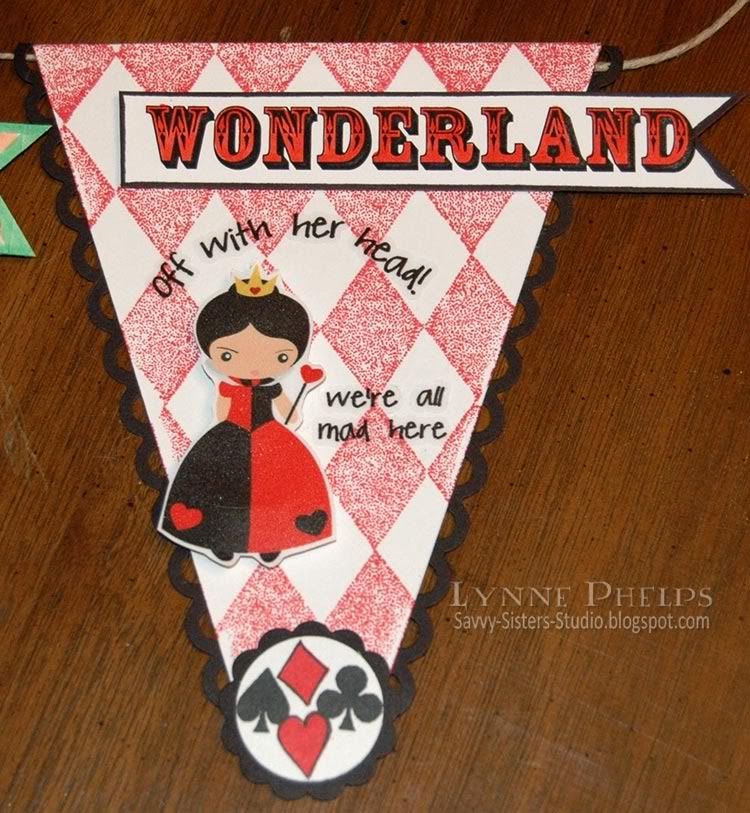
I wanted to do an alphabet banner with pennants spelling out A-L-I-C-E. I was totally inspired by Lynn Steven's entry in the Gingersnaps Mad Hatter Day blog hop! It wasn't even her main entry - just a small picture of an Alice banner. I HAD to make an Alice letter banner!

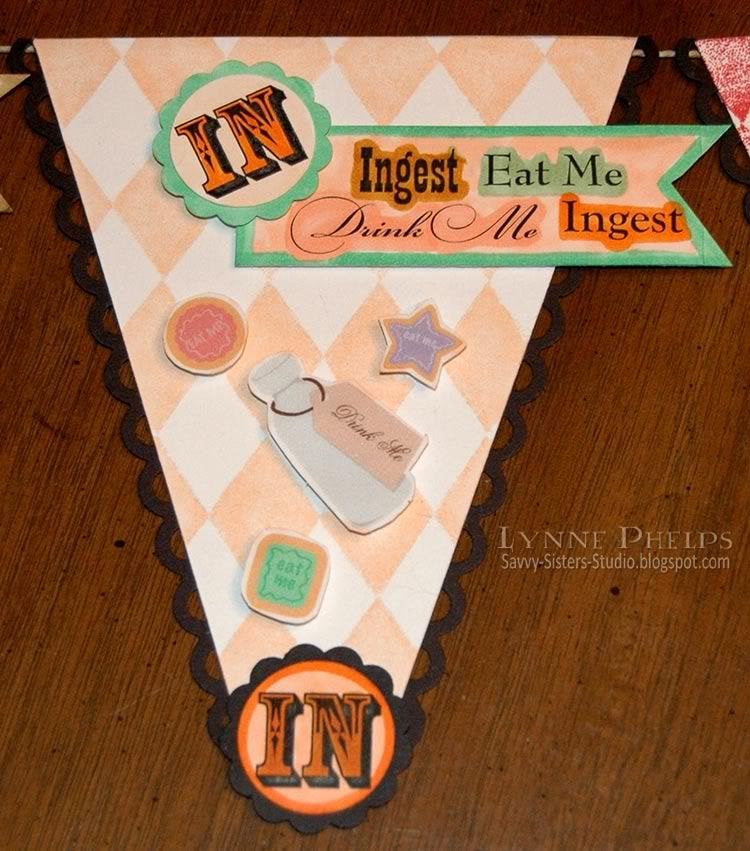
Each pennant started as an A4 sized piece of white card stock; one fourth of a letter sized sheet. I scored a fold one-half inch from the top. Along the bottom edge, I used a centering ruler to mark off one inch in the center where I knew my circles would be. Then I trimmed from the foldline in each upper corner to the inch mark on each side. This left a triangle with the bottom tip cut off! I stamped a stippled harlequin diamond background in a color to coordinate with the stickers for each particular pennant.
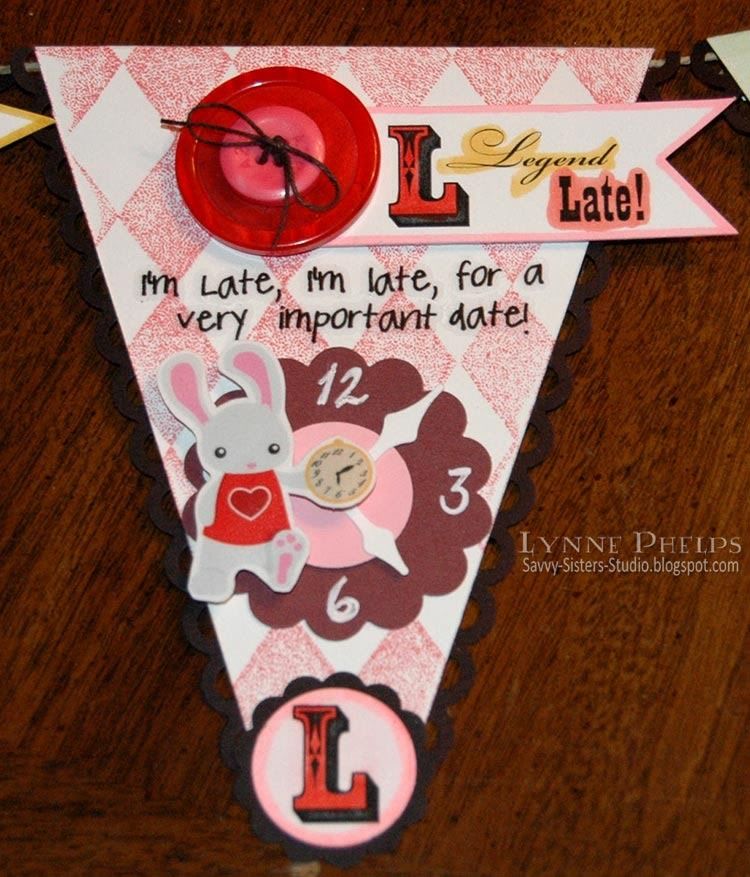
For the "L" pennant, I punched a scalloped and plain circle and some clock hands to create a clock background for the rabbit. They are held together with a brad that is hidden by the watch in the rabbit's hand.
TIP: Laser printers are best for coloring with Copics as the toner is fused onto the paper with heat, and you can color right over the lines with no fears of smudging. You could also print on an inkjet, and then use a B&W or color copy machine, as they are also toner based and fuse with heat.
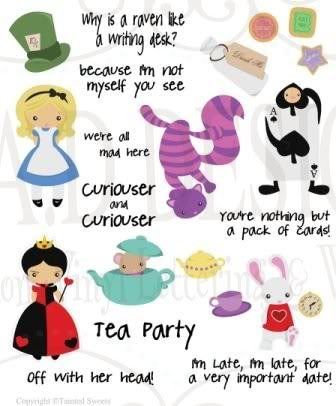
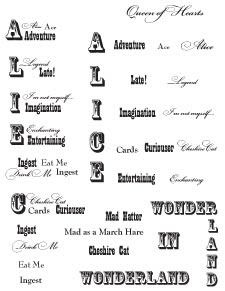
I crammed everything I could think of on one page. I had the letters next to words beginning with that letter in a clump. These words were used at the top of each pennant. I had also placed all the words separated instead of clumped, as I was not sure how I would want to place them. This turned out to be a good thing as I wanted the large letter by itself for the bottom of each pennant. You can see how I set the page up at left.
I adhered the different blocks of words with a glue stick to white card stock so it would be stiff enough to mount on dimensionals.
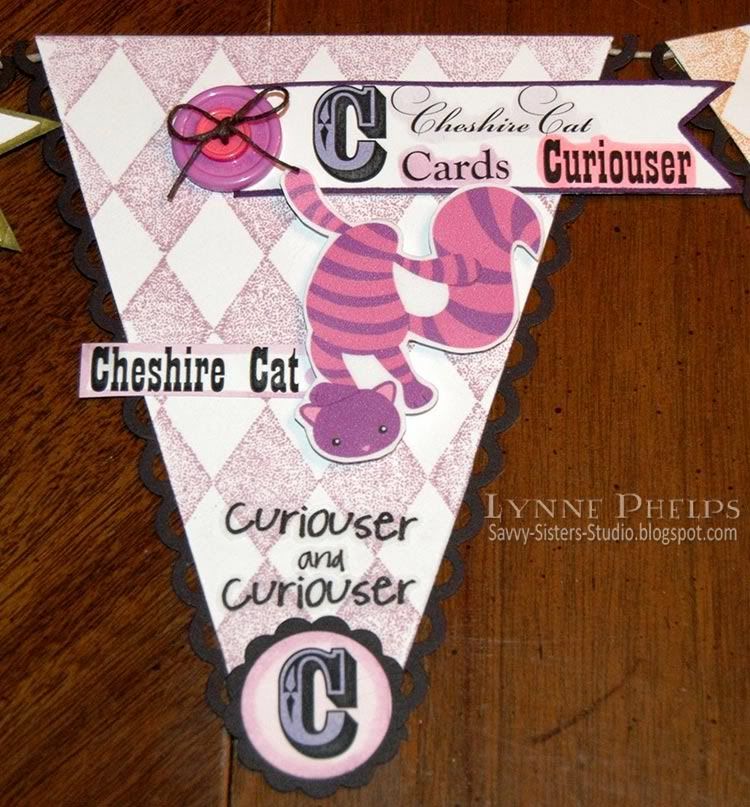
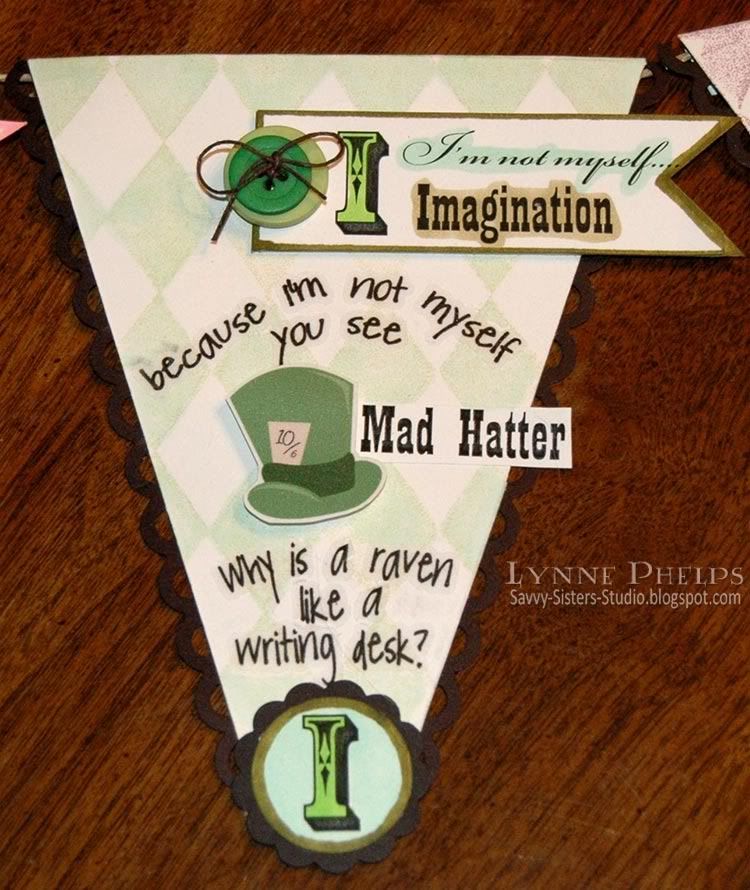
I trimmed out each block of words and notched the ends with a square punch then colored it with Copics. Buttons were stacked and tied together with black twine tied in a bow.

I punched each letter with a one-inch circle punch and colored it with Copics. Then I adhered it to a 1¼ inch black card stock scallop circle punch out.
I punched a strip of black card stock for each side with a scallop border punch. I adhered it behind the pennant so only the open scallops are exposed.
When I had all the pennants created, I cut a long length of hemp twine (found in the jewelry section) and placed it in the fold before adhering the flap down. I preferred the hemp twine for this as it is much smoother than jute twine - the pennants can actually slide along the twine.

I have not decided where to put it, but I draped it on this fun metal-framed mirror and I kind of like it here! The character of the mirror seems to lend itself to Alice, and I like the whole "Looking Glass" connection, a little visual pun that give me pleasure. Besides, I would rather look at my Alice banner and the tagged Alice sign than my own reflection any day!!! ;-)
Remember you can play along with the Oh, Alice! Chapter 21 challenge, which is to use red, white and blue. If you win, you will get an EAD Designs gift certificate!
Check out the creations from the other members of the Oh, Alice! design team:
- Jessica (our MAD HATTER)
- Erin
- Jen
- Kim
- Kristy
- Ky
- Margie
- Peggy
- Randi
- Sammi
- Sara
- Suzi
- Tasha
- Plus Emma, our July Guest Designer
Stamps: Stampin' Up! - Harlequin diamond background; River City Rubber Works: card suits cube.
Paper: Georgia Pacific - white card stock; Stampin' Up! - black, pink and burgundy card stock.
Ink: Marvy Matchables - various colors for backgrounds.
Embellishments: EAD Designs - Alice in Wonderland Stickerz
Tools: Tim Holtz - Design Ruler; Fiskars - Apron Lace border punch; EK Success - Paper Shaper 1-inch circle and 1¼-inch scallop circle punches, Clock Hands punch; Scor-Pal.


Wow! I'm speechless! This is absolutely stunning! I love it so much! Great job using all of these on a banner :)
ReplyDeletehugs, margie
OMGOSH you TOTALLY rocked these stickers! WOWZA!!!! I will get the blog stuff taken care of assap-this NEEDS to be on the blog! It's amazing Lynne-welcome to the team!
ReplyDeleteI Love it!!!! and so glad I could provide a little inspiration, Thats what its all about, The sharing of ideas!
ReplyDeleteCongrats on making the team!!!!
Lynne: U R Amazing, this creation just blows all of them out of the water. Welcome to the tea party, I have no doubts you will be fitting right in!!
ReplyDeletewow....cool banner!!! Congrats on the dt too!
ReplyDeleteHow very lovely!! This really does work on your mirror too!!
ReplyDeleteCongratulations Lynne!!! Being a regular on a design team is something you have wanted for a long time. Love, Dad
ReplyDeleteCongratulations, Lynne!
ReplyDeleteWow Lynne, this is absolutly AMAZING! I love it! I can see why you were asked to stay at the table....hehe! Fantastic Work!
ReplyDeleteOMG!!!!! this is as FAB as can be!!!! xxD
ReplyDeleteCONGRATS!
ReplyDeleteYou banner is SUPER CUTE:)
Thanks so much for the sweet comments.
incredible work on this banner, Lynne !!!!!!
ReplyDeleteWOW!!!! Tfs:)
I was also trying to find your e-mail so I can answer your question but I cant seem to find it.
Anyway, if you can e-mail me back. I have my e-mail on my blog.
Hugs,
chat