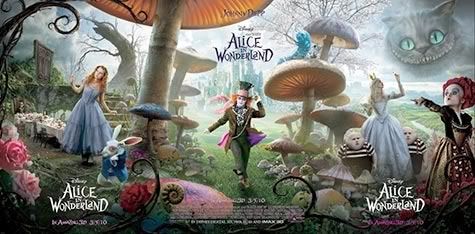
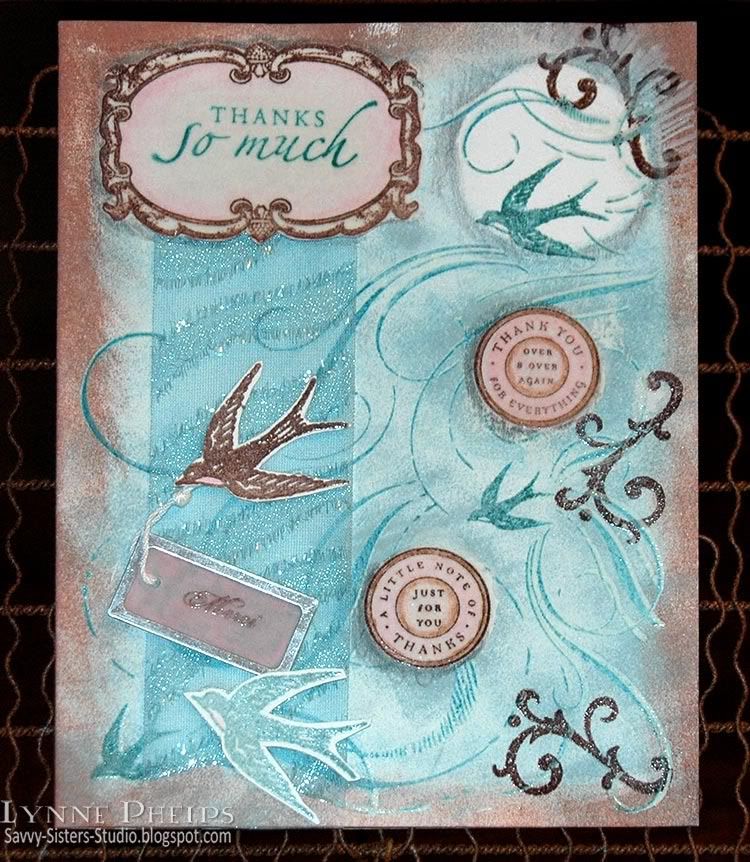
`Now tell me, Pat, what's that in the window?'Hello friends...it's CRYSTAL CLEAR that today you're all joining us for a fabulous challenge here at Oh, Alice! We have all sorts of lovely techniques for you to try today! Your mission today with Oh, Alice!, should you choose to accept it, is to try a technique using cracked glass, crystal effects (or glossy accents), or a window stamp/technique. There are TONS of possibilities with today's challenge and we are SO ready to see all of the fabulous creations you enter! Here are my two takes on the challenge:
`Sure, it's an arm, yer honour!' (He pronounced it `arrum.')
`An arm, you goose! Who ever saw one that size? Why, it fills the whole window!'
`Sure, it does, yer honour: but it's an arm for all that.'
`Well, it's got no business there, at any rate: go and take it away!'
There was a long silence after this, and Alice could only hear whispers now and then; such as, `Sure, I don't like it, yer honour, at all, at all!' `Do as I tell you, you coward!' and at last she spread out her hand again, and made another snatch in the air. This time there were TWO little shrieks, and more sounds of broken glass. `What a number of cucumber-frames there must be!' thought Alice. `I wonder what they'll do next! As for pulling me out of the window, I only wish they COULD! I'm sure I don't want to stay in here any longer!'
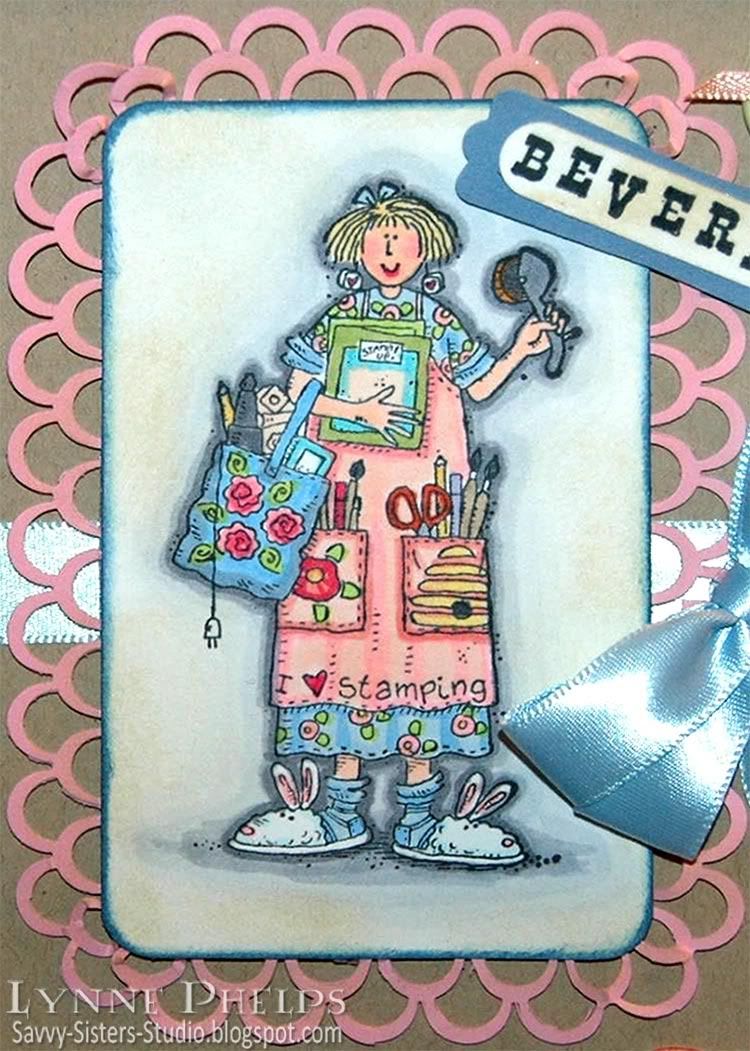
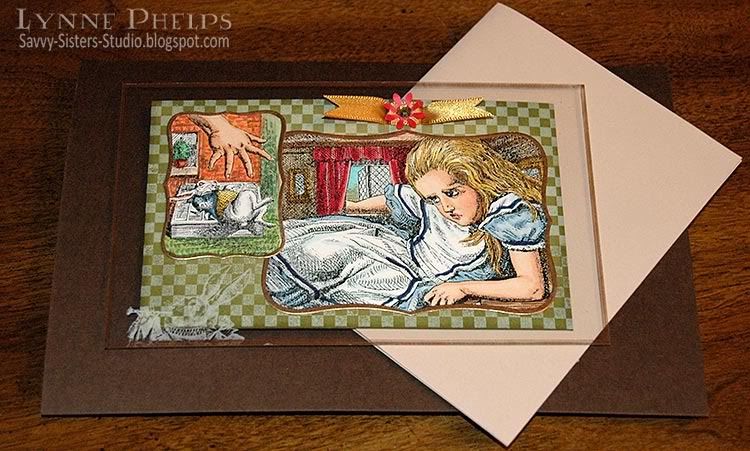
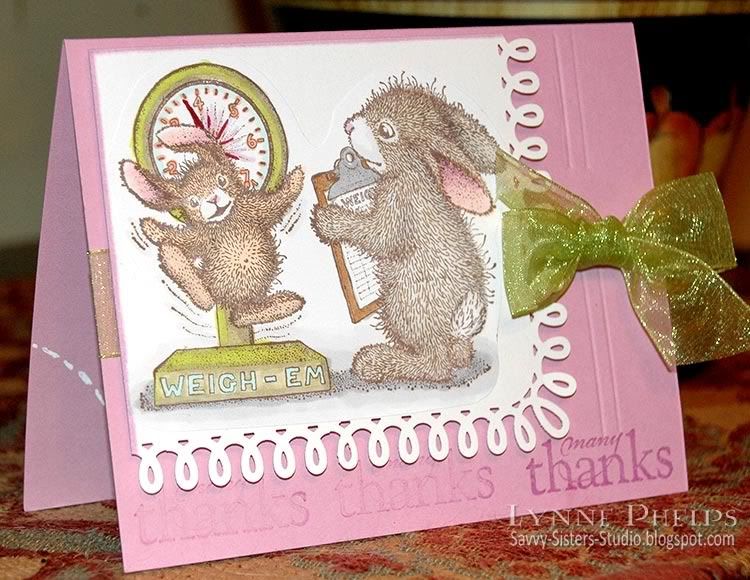
Clear Postcard: Alice has a really bad day!

Click to enlarge
I used a piece of clear packaging that held clear stamps for this one! I edged it with a gold leafing pen and stamped the Herald Rabbit in the corner in white ink. I printed both images with my B&W laser printer on color laser printer paper, which works really nicely with Copic markers. I die-cut them and edged them with the same gold leafing pen and adhered them to the front.
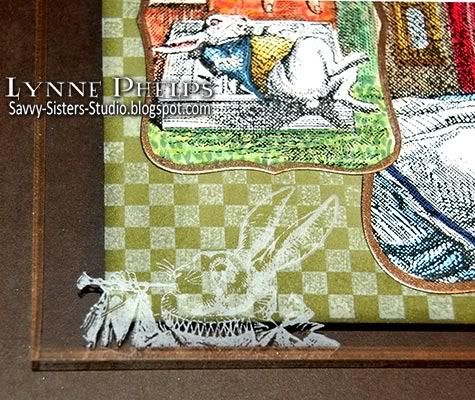
This is a postcard type flat card, no fold. I stamped a checkerboard in white on olive card stock and adhered it to the back of the clear acetate, being very careful to place ahesive where it would be covered by the images on the front side of the plastic. I cut a couple slots and threaded a ribbon through, then added a small punched flower and stuck a bit of bling in the center! By having the olive card stock on the back side of my clear postcard, it gives me a place to write a message!
Click to enlarge
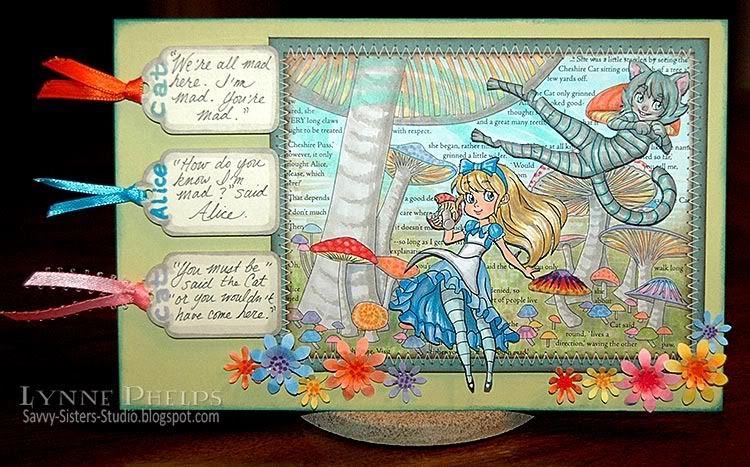
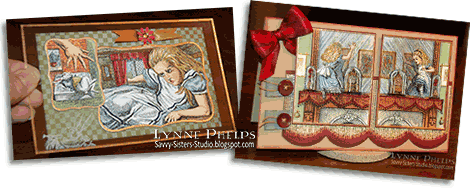
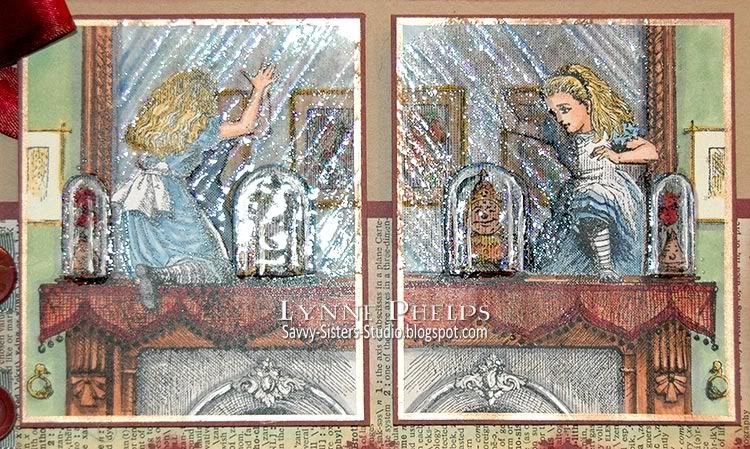
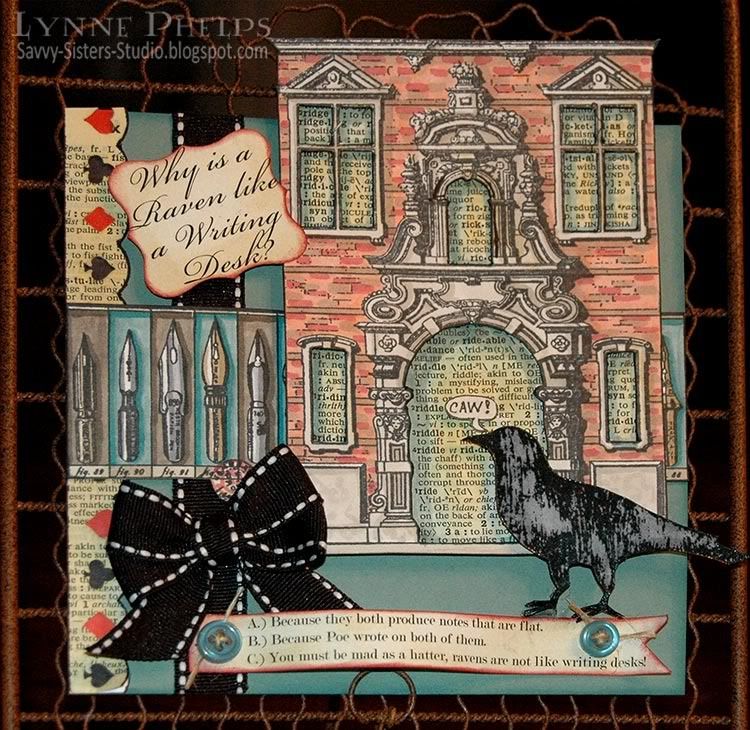
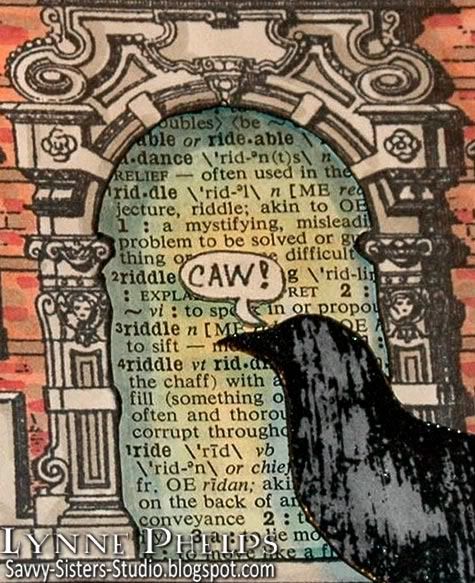
Going Through the Looking Glass

Click to enlarge
But I also HAD to use the two images of Alice going through the Looking Glass for this challenge! I printed both with my B&W laser printer on color laser printer paper and colored them with Copic markers.
Then I used a glue pen to follow the reflective streaks across the glass and used an icy blue glitter. I colored over the whole surface of the mirrors with a versamarker and heat embossed with clear detail powder, repeating this step three times. I used detail powder so it would not spread into the areas like her face when it melted. Next I gave the glass domes over the clock and vase the same treatment but used three or four layers of clear Ultra Thick Embossing Enamel.
Click to enlarge
Sure wish this glorious shiny finish was easier to photograph! Neither photo gives a good feeling for how glassy the finish is and how 3D the glass domes feel!
Remember to go to Oh, Alice! to enter your own creations in our Glass/Clear challenge! Here's some more inspiration from the DT:
- Jessica (our Mad Hatter)
- Erin
- Jen
- Kim
- Kristy
- Ky
- Margie
- Peggy
- Randi
- Sammi
- Sara
- Suzi
- Tasha
- Plus Emma, our July Guest Designer
Clear Postcard:
Stamps: Free digi images from Lenny's Alice in Wonderland site; Waltzingmouse Stamps - Off Beat Backgrounds; Nature's Blessings - white herald rabbit.
Paper: Stampin' Up! - Old Olive card stock.
Ink: Palette Hybrid Ink: New Canvas (white).
Miscellaneous: Krylon - Pale Gold Leafing Pen; Ribbon.
Tools: EK Success - small daisy punch; Spellbinders - Labels Eight Nestability dies.
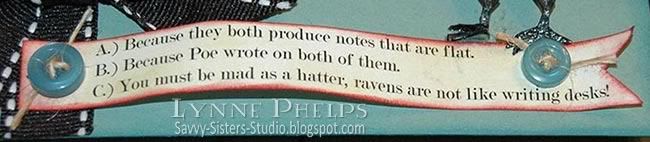
Looking Glass Card:
Stamps: Free digi images from Lenny's Alice in Wonderland site.
Paper: Papertrey Ink - kraft; Stampin' Up! - burgundy card stock; Old dictionary page.
Ink: Ranger Distress Ink - Scattered Straw, Aged Mahogany, Walnut Stain.
Miscellaneous: Ribbon; Buttons.
Tools: EK Success - scallop border punches; Bow Easy


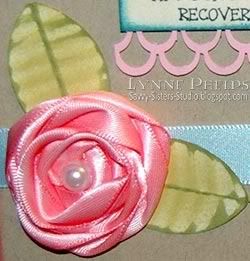 Notice the ribbon flower! This was my first time making a coiled ribbon rose. It was SO EASY! I punched a circle of card stock and covered it completely with my Glue Glider Pro so the entire surface was covered. Then I took some 5/8-inch pink satin ribbon and stuck the smallest possible piece of the end of the ribbon down in the center of the circle to anchor it. Then I twisted the ribbon into a loose coil and tacked it down to the adhesive in a spiral going out from the center. Easy peasy lemon squeezy! It does not show in the photo, but I edged the ribbon with a darker pink Copic marker so it has some variegation in the coils. The leaves are made with a circle punch and a paper crimper. I put a large plastic pearl on my paper piercer so I could control where the hole was as I lowered it into a little pool of Diamond Glaze (Crystal Effects) glue.