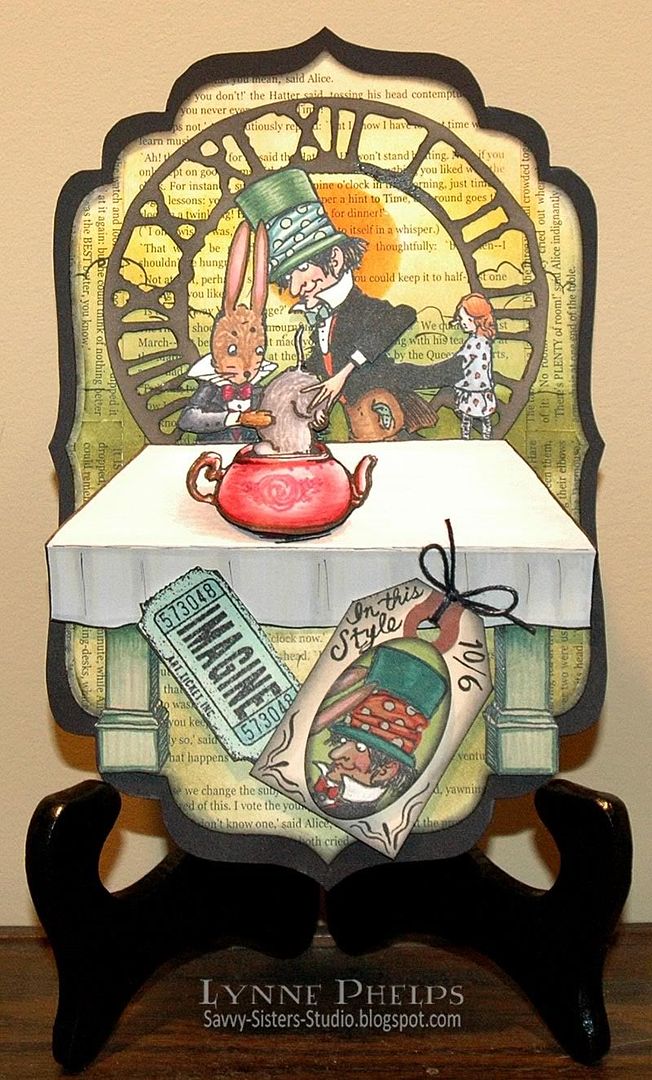
The challenge this month on The Altered Alice was to celebrate Mad Hatter Day, and the whole design team was given this same stamped image by Jennie at The Artistic Stamper. I really love these vintage Mabel Lucie Attwell illustrations of Alice in Wonderland that The Artistic Stamper has translated into rubber.
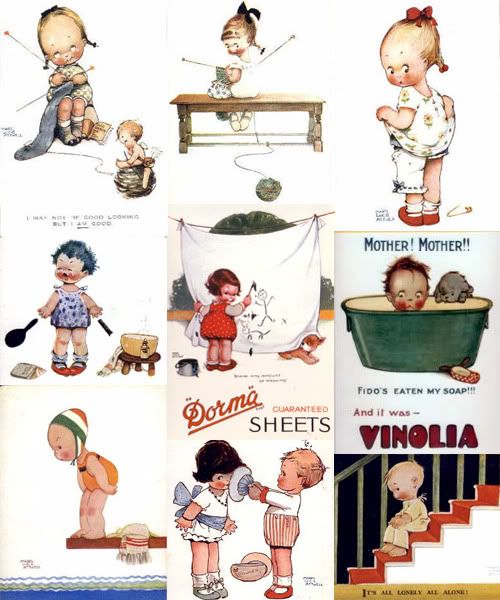 Attwell was born in England in 1879 and by 1914 had established her trademark style of illustrating roly-poly toddlers, loosely based on her daughter's appearance at that age. By the 1920s her children's picture book illustrations had captured the public's fancy. In fact the author of Peter Pan specifically requested that Attwell illustrate her gift book edition. If these appeal to you, The Artistic Stamper has several of these charming Attwell toddler drawings in rubber! And remember - free worldwide shipping over £35!
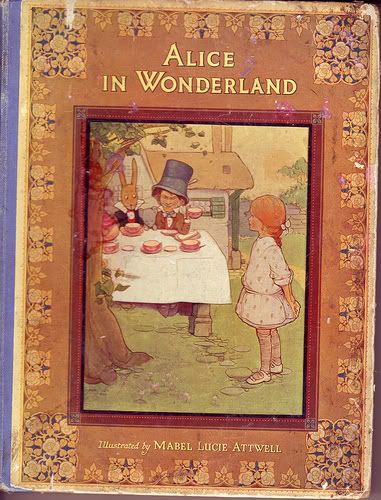
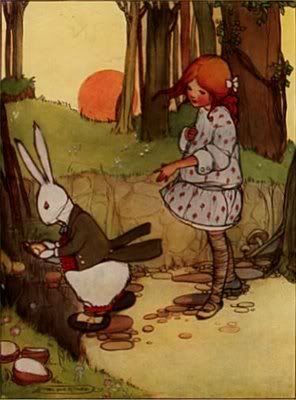
Attwell's illustrations of Alice in Wonderland are in quite a different style, and I was really inspired by the original color illustrations when I created my piece. First off, Attwell's Alice was a redhead, and as a redhead myself I approve! She wears the drop waist dresses typical of that period, and all the illustrations have a retro-vintage charm that stops short of being cute.
Here are some of the illustrations that inspired me - click to enlarge:
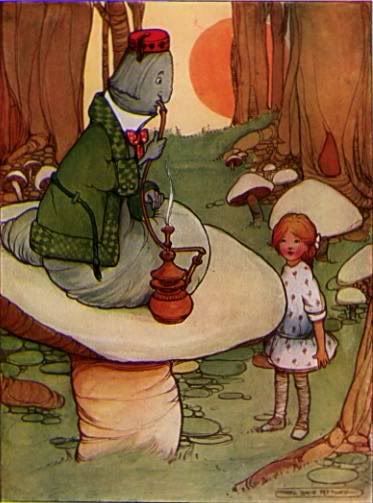


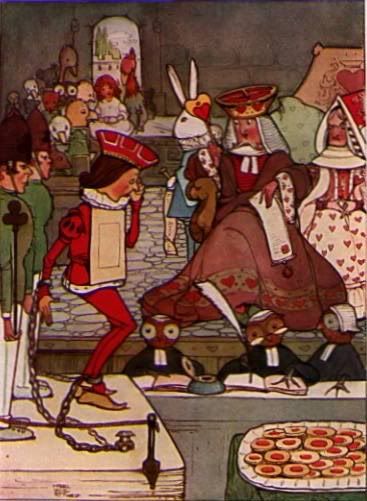
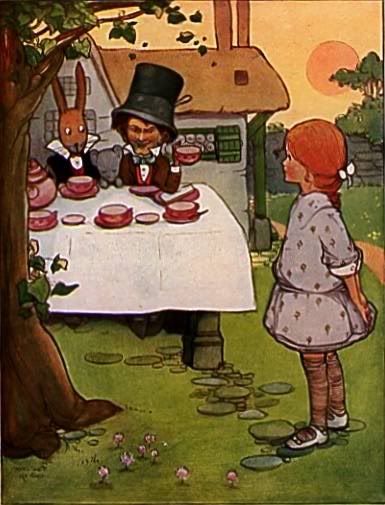
So the first thing I did after stamping the image on Beckett Radiance card stock with Memento Tuxedo Black ink
 was to use various weights of Copic Multiliner SP illustration pens
 to draw in the rest of the table under the teapot. You can see that I modeled my table legs on those pictured here, as well as the yellow skies, orange sun and yellow-green foreground. I also colored the clothes and the teapot and teacups to match this illustration. Then I trimmed it out carefully with my Cutter Bee non-stick scissors
 , which are my favorite for intricate fussy-cutting. Now what to do?
I knew I wanted to have the book text in the background. I tried to find a likely background shape amongst my die cuts and I decided the Grand Label Four Nestability
 shape would work best. I used the next the the largest die to cut my text covered card stock. It is the actual words from the Mad Tea Party chapter of the book! I sponged the background with Distress Ink in Scattered Straw
 , Mustard Seed
 , Shabby Shutters
 and Peeled Paint
 . I took the brush Copic Multiliner pen and loosely sketched in a horizon line and some bush outlines above it. I made a mat by tracing along the inside rim of the largest Grand Label Four die and glued the two together. Now my background was complete, but the table was really bugging me. I wanted it to have dimension. It also looked disproportionate, as I had to draw the table top front edge so low due to the position of the teapot.
Then I had a brainwave! I scored the cut out image along the front and back of the table. I attached it to the background with dimensional foam mounting tape, centered on a Sizzix Weathered Clock die cut
 . I stamped and colored the Mad Hatter and March Hare arms, Dormouse and teapot and added that layer as you can see above.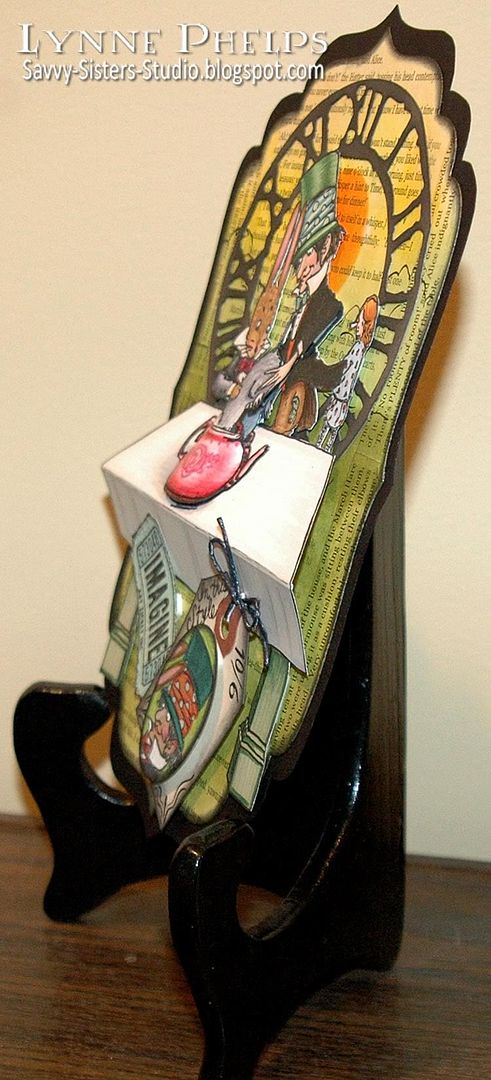
Then it looked too empty under the table. I made a little price tag with another image stamped on kraft card stock and colored with pencils. I added an "Imagine" ticket and it was done! I wish I could tell you how cool this 3D effect is in real life! Now it is even more so as I added a layer of Glossy Accents over the entire teapot to make it shine.
You can see the rest of the design team's creations here: Original challenge post, Week 2, Week 3, and Winners & Honorable Mentions. Going last has it's advantages, as Tracy/CuddlyBunny's project on book text was a major inspiration, and the Glossy Accents coating to give the teapot a glass effect was inspired by Terri DeVine's stolen tarts project!
Please leave me a comment and let me know what you think of my dimensional Mad Tea Party!