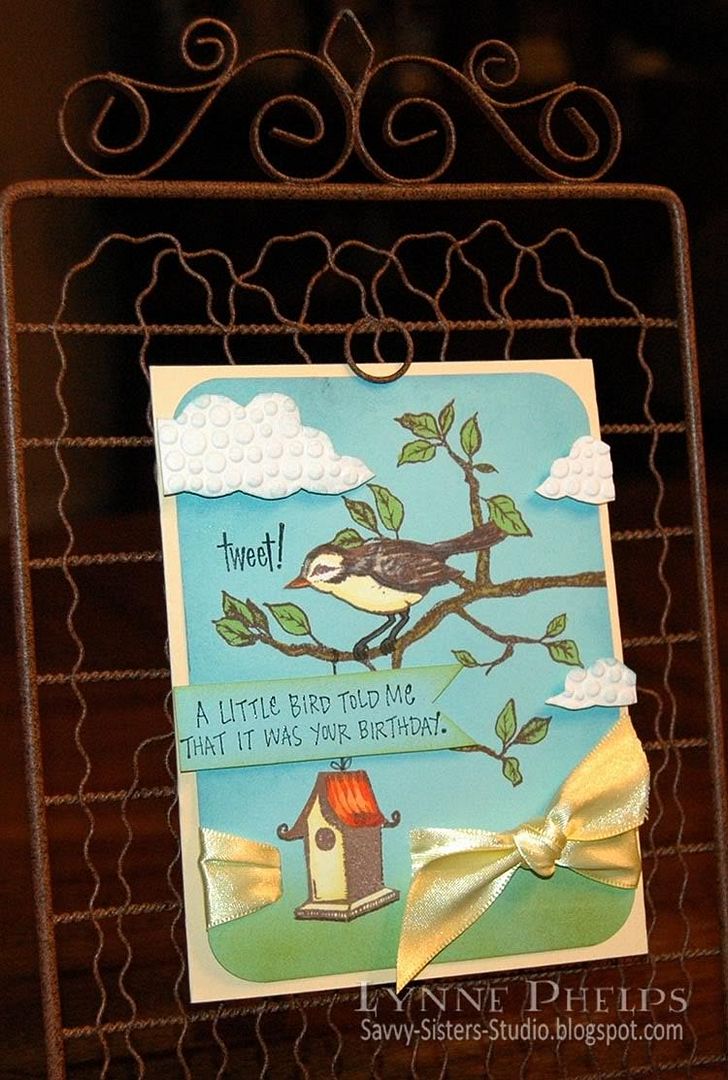
Now that my nieces are home for the summer, we are belatedly celebrating their friend Karlie's birthday. She is so bright and cheerful and animated, and the bright eyed bird in Flourish's "
Home Tweet Home" set makes me think of her! I also wanted to enter the
Flourishes Timeless Tuesday Challenge FTTC67 which is to use chipboard.

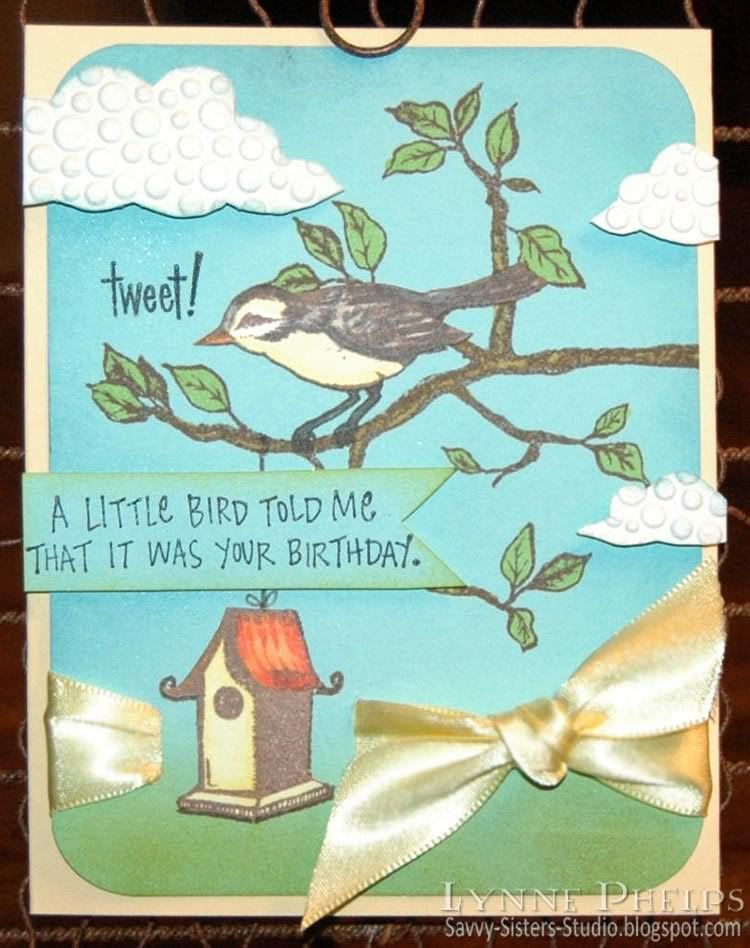
I stamped the branch, bird, and birdhouse with brown ink on the blue cardstock, then I stamped the bird and birdhouse again on white cardstock. I colored in the branch, leaves, and bird's legs with Copic markers. Then I sponged blue around the edges and in the sky area, and green across the bottom. I colored the bird and birdhouse on the white cardstock and cut them out. Because I had also stamped the images on the blue cardstock, I did not have to worry about trimming around the bird's legs or the spirals at the edge of the birdhouse roof - I trimmed them off when I cut out the images. Much easier!! I adhered them in place on the blue cardstock. I stamped "tweet!" in black and heat embossed it with clear detail powder.
I save cereal boxes and other packaging, do you? I especially love it when you find items packaged in white chipboard, and that is what I used for my clouds. Clouds are a very hot trend right now! I drew some clouds on the printed side of the chipboard, then ran it through my Cuttlebug in an embossing folder. Then I cut out the clouds and sponged a little blue around the edges. I also stamped the "little bird" sentiment on a piece of blue cardstock and trimmed it out, sponging the edges with green.

Now to assemble everything! I cut a slot for ribbon on either side of the birdhouse and ran yellow satin ribbbon around the panel and through the slots, tying it in a square knot. I rounded the corners, then adhered it to my pale yellow cardbase. I added the sentiment on regular dimensionals, and the clouds on ⅛ inch thick dimensionals to really lift them up! I aligned them all with the edge of the card base, not with the blue panel. I like having elements that break through the boundaries, must be the rebel in me!!
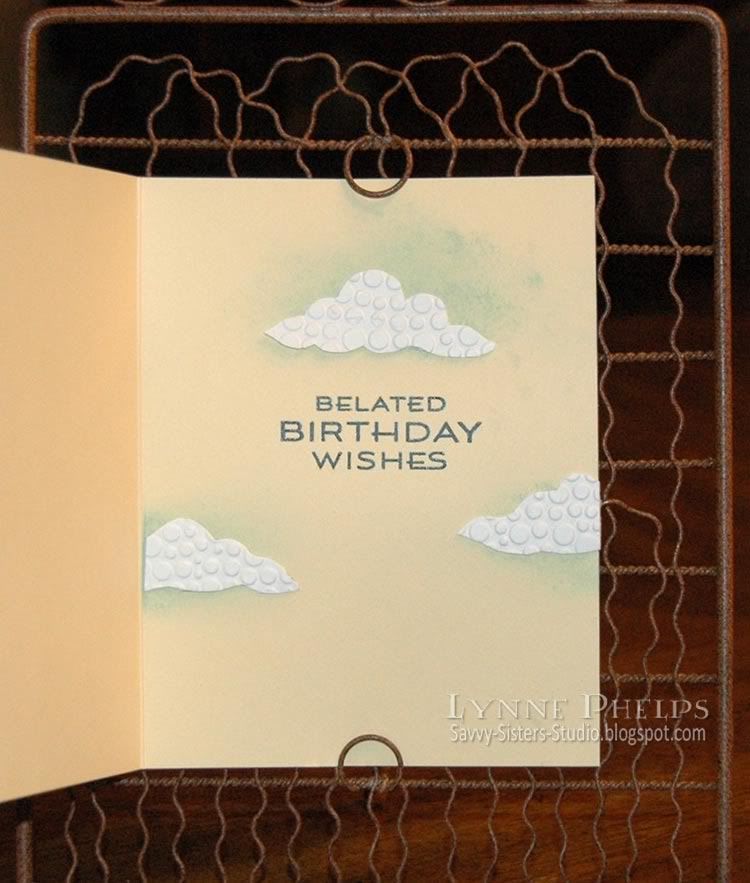
Can't forget the inside!

I stamped the sentiment and heat embossed it with clear detail powder. I cut out a few more clouds, again having some floating off the edge of the paper, and sponged some blue where I planned to put them. I adhered these flat against the cardstock.
I hope Karlie will enjoy receiving this birthday card at dinner tomorrow night. We are having a big meal and cake at my sister's house, gotta love a big family meal! Happy belated birthday Karlie!
I purchased this stamp set at the Flourishes booth at a scrapbooking & stamping show in Perry, Georgia! I can't tell you how exciting it was to be able to do some stamp shopping in my own town, which is tiny!! I got to meet two of my blog heroes, Silke Ledlow of
My Life, and Dee Jackson of
Stampin' Cuz I Luv 2 and made them pose for a picture with me - my sister Janet is behind the camera! I was so excited as I have subscribed to their blogs for years, and there they were doing Copic coloring make-it-take-its at the show. Of course I recognized Silke immediately because of the picture on her blog, and the minute Dee told me her name, I said "Stampin' Cuz I Luv 2" and then we all squealed and jumped and hugged! It was just like being ten years old again!
Stamps: Flourishes - bird, branch, birdhouse, tweet from "Home Tweet Home" set; Inkadinkado - little bird sentiment; Waltzingmouse - belated birthday sentiment from "Fancy Phrases" set
Paper: Stampin' Up cardstock - Cool Carribean, pale yellow; Georgia Pacific - white cardstock
Ink: Memento - Rich Cocoa; Ranger Distress - Black Soot; Marvy Matchable - Salvia Blue, Yellow-Green; Copic Markers
Embellishments: Hobby Lobby: Double-faced satin ribbon; Recycled chipboard packaging
Tools: Embossing Folder - Cuttlebug Tiny Bubbles; Corner Chomper (½ inch side); Tack sponges


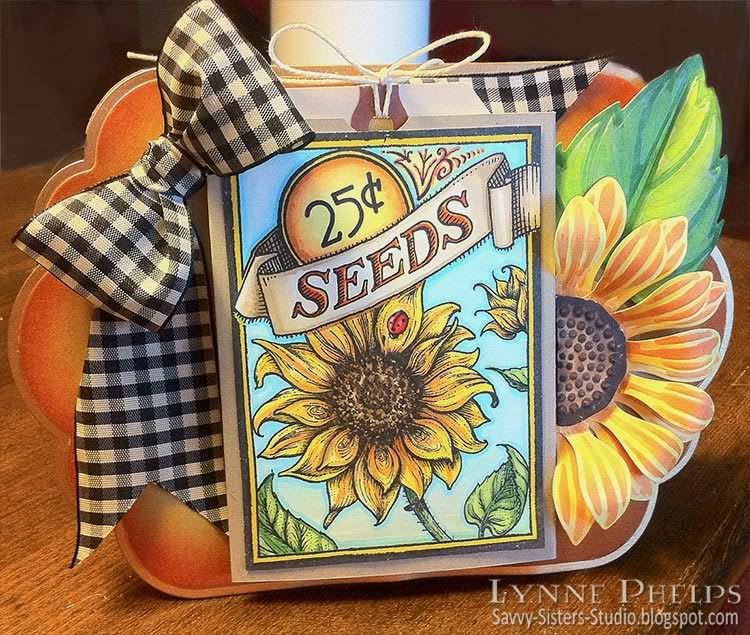


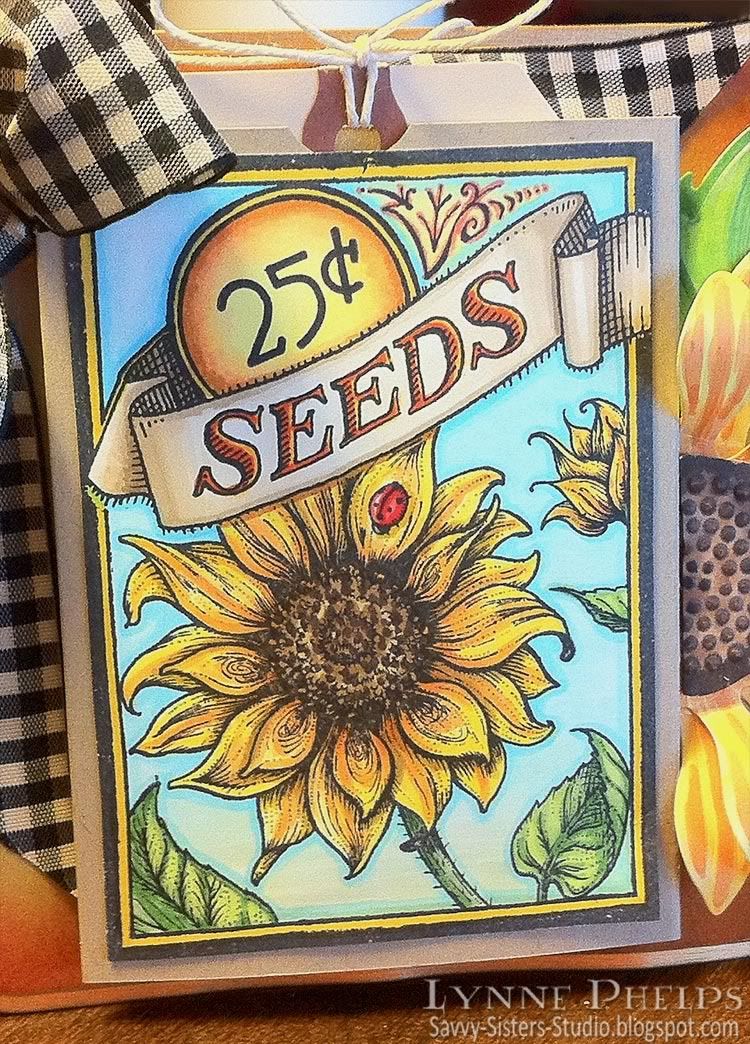

 , one of my favorite of their non-nestie dies! I cut one leaf, one center and two of the petals out of white card stock which I then colored with Copics. I did not stay precise with this, I wanted more of a sketchy watercolor look and I love how it turned out! I curled the lower ring of petals slightly by wrapping the tips of each petal around the barrel of a pen. I curled each of the top petals all the way from tip to base so they really lift up! I curled each half of the leaf around the barrel of the pen also. To assemble all the bits, I glued each ring of petals to a card stock circle with
  . The center is popped up with dimensional foam tape.
 . The front one was cut out completely, and while it was still in the die, I sponged around the edges with
  and then
  , then I edged it with a
  in Pale Gold. Before I cut the back piece, I had to include a folded area for the hinge. I trimmed the kraft card stock about an inch taller than it needed to be, and scored it and folded over the extra inch. When I placed it in the die, I put the fold line just inside the cutting edge on one side. I adhered the folded over inch to the inside of the front cover, and this forms the hinge at the top of the card.
 . Then I glued the leaf and flower with Fast Grab Tacky Glue. I couldn't make my composition work with the whole sunflower, so I cut it in two and nudged the raw edge under the popped up seed packet. It turns out I liked it with the half-flower much better than with a whole one, and it allows the seed packet to stay at center stage.