Showing posts with label Friendship. Show all posts

Tuesday, May 25, 2010

Botanical Resist for Beverly

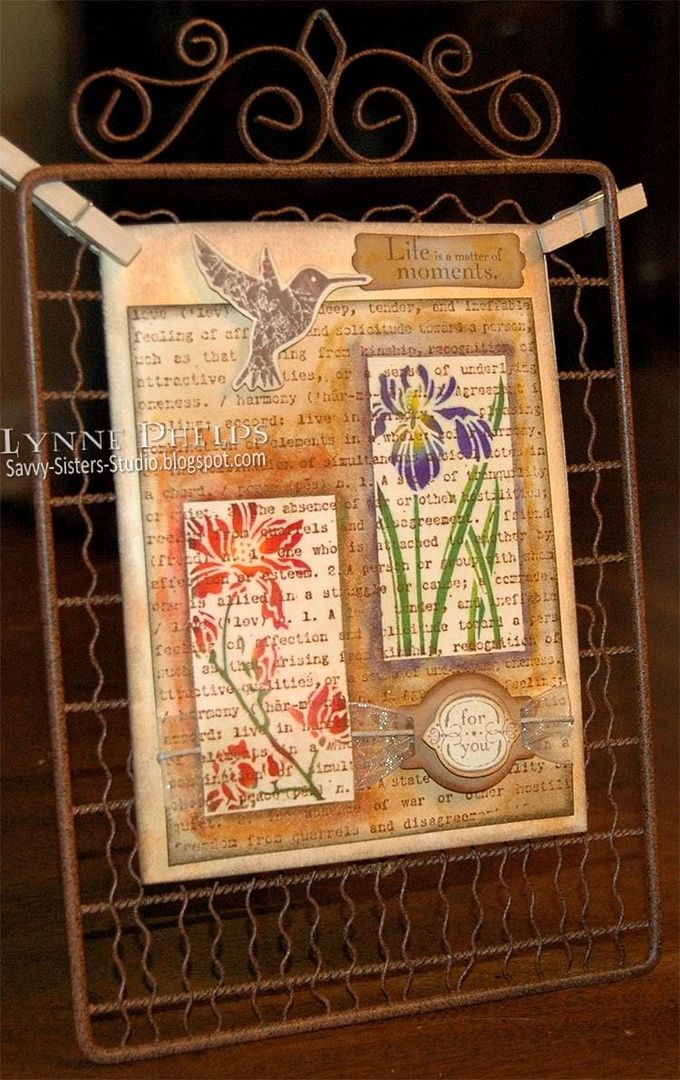
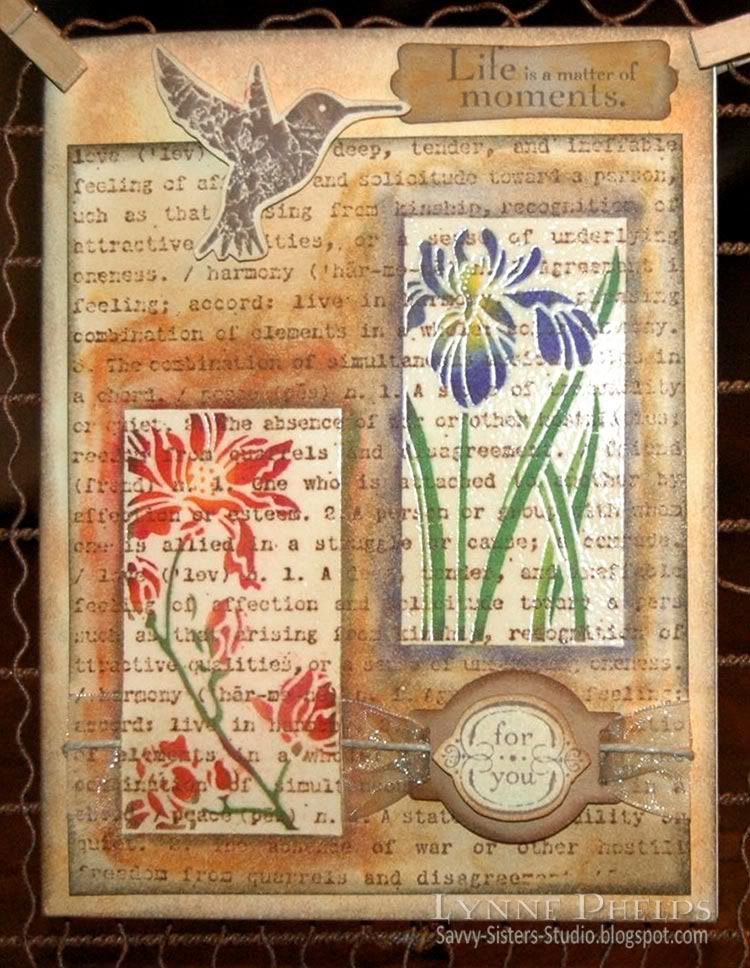
A dear stamping buddy recently lost her beloved husband. Our stamping group is getting together this Saturday to play with this technique, so I made this "thinking of you" card for Beverly. Hmmm. I wonder if she is a blog subscriber? I guess maybe now I'll find out! ;-)

Photobucket

Patie, the organizer of our band of stampers, saw this technique on a video by Jennifer McGuire. Jennifer is an amazing teacher and you can see a list of all her video blog posts here.  You need a negative image stamp - one where the background is stamped, leaving the focal point image unstamped, like a silhouette stamp in reverse.  I was really anxious to try out the technique and found I had only one stamp set that would work!

I began by stamping the text background, then sponged randomly with a lighter color to add some texture. I stamped the two negative floral images with VersaMark ink and heat embossed them in clear.  I used a Q-tip to apply ink to the open areas of the flowers. Then I sponged more inks on the background to make the flower images pop! It still needed a little something, so I used the colors on the Q-tip to go around the edges of the images, adding a little color.
Photobucket

I sponged around the edges of the cream card base to match the panel. I die-cut a ribbon slide tag from kraft cardstock and layered the "for you" on top with a dimensional. I ran old gold organza ribbon and twine through the slider and wrapped it around the panel. The "Life is a matter of moments" was stamped on kraft, punched and sponged. The hummingbird added the final touch to the pretty flowers!

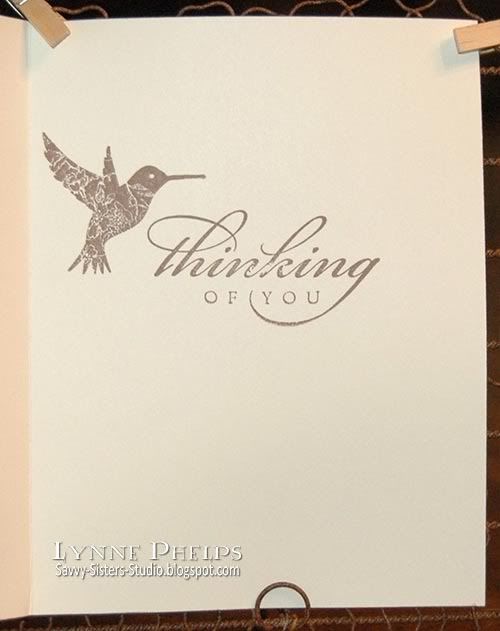
Can't forget the inside!
Photobucket

I have submitted this card to the "How do you distress" contest on the Tim Holtz blog, as sponging with Distress inks is my favorite distressing technique!

Amazingly, this card is all Stampin' Up! except for the ribbon slide die-cut, ribbon, and twine! The background stamp is perfect, as it is definitions of love and friendship. I hope this card will be a reminder for Beverly of a fun day playing with this same technique, and of how much she is loved by her friends! Life really is a matter of moments and I know she treasures every memory of moments shared with her beloved Bill.  Love you Bev!

Stamps: Stampin' Up! - Botanical Garden, Elements of Style, By Definition
Paper: Cream cardstock; Papertrey Ink - kraft cardstock; ValuePack 5 x 6½ inch cream card and envelope
Ink: Ranger Distress Ink - Vintage Photo, Tea Dye, Old Paper, Walnut Stain; Marvy Matchables - English Red, Yellow, Violet, Lilac, Green, Pine Green, Prussian Blue; Memento - Rich Cocoa
Miscellaneous: Ranger - Clear Detail Embossing Powder; Organza Ribbon; Hemp Twine
Tools: Cuttlebug - Ribbon slider tag die; Stampin' Up! - Modern Label Punch

Monday, February 22, 2010

Waltzingmouse Spring Blog Hop!

ETA: Edited to add that I've entered this card in the Flourishes Timeless Tuesday(FTTC55) to make, stamp or add flowers in some way. I think this Celtic Flower qualifies!
Welcome to the very first Waltzingmouse Stamps Customer Blog Hop. The theme is Spring, a welcome thought with all this cold weather. If you came here from Mona Pendleton's blog, Cupcake's Creations, then you are in the right place. If not, you may want to start at the beginning on Claire Brennan's Waltzingmouse Makes blog!

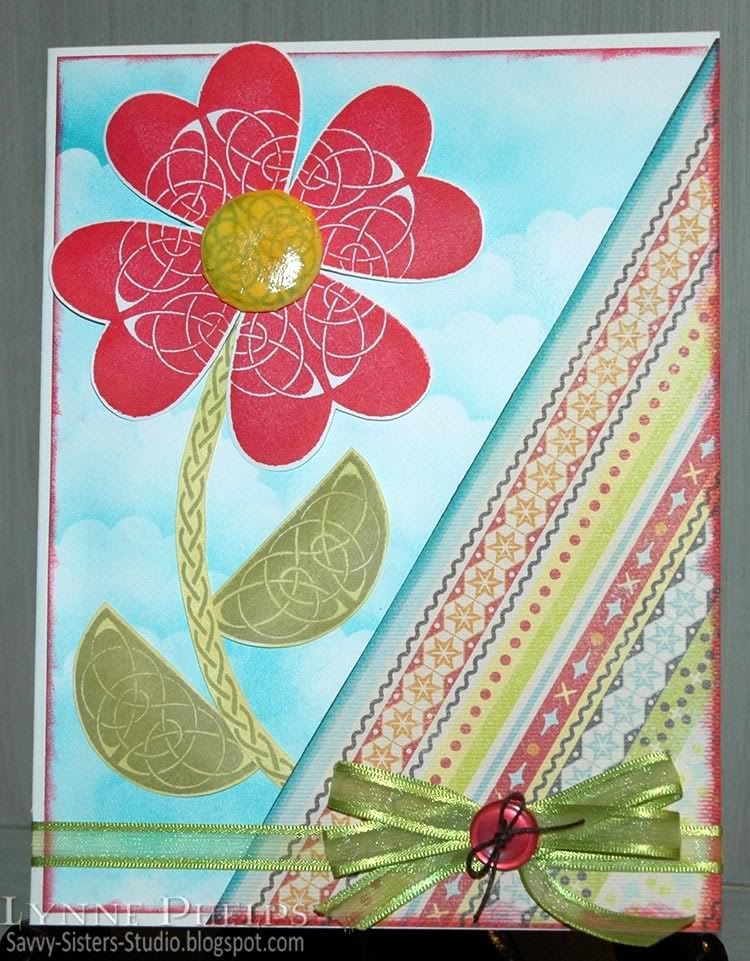
Photobucket - Celtic Flower Card Front
I don't have any of Claire's darling Spring sets - yet - so I turned to my all-time favorite sets, Celtic Heritage and Irish Blessings. I think you can find a way to use these sets for ANY occasion - I even used them for my Christmas cards last year!

I sponged Carribean Blue (Marvy dye ink pad) onto the white background, moving around a scallop circle punched paper as a mask to create clouds. I swiped the edges with a Crimson Lake ink pad (Marvy) and topped it with a patterned paper panel (K&Company Mat Pack) which also had edges swiped with Carribean Blue and Crimson Lake. Then I had fun creating my flower - I stamped the heart four times using Crimson Lake and "rocking and rolling" the edges with English Red (Marvy). I stamped the solid lunette twice with Pond Green (Marvy). I curved the beautiful braided border on the acrylic block and stamped with Pond Green to create a stem. The leaves and stem were sponged with Old Gold (Marvy) to make them more yellowy to match the patterned paper better.

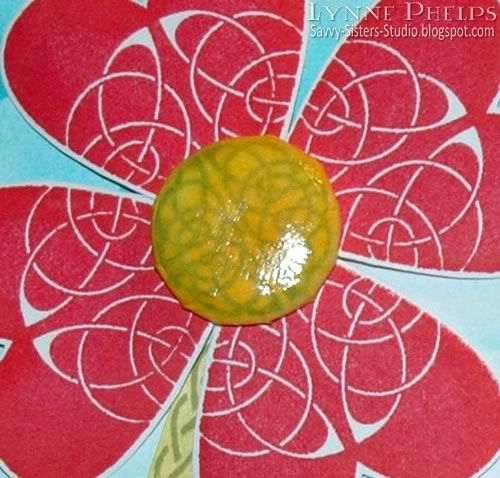
Photobucket - Celtic Flower Brad Center
I used a 60% off coupon at Michals to purchase an i-Top brad making tool (Imaginisce) -what can I say, the price was right! It is a lot of fun, but be sure to watch their YouTube videos to get all the tips, it makes a big difference. I stamped the small lunette twice in Pond Green (Marvy) to make a full circle, then sponged it with yellow and gold. I cut it out with the template and then dampened the paper before using it in the brad maker. I covered it with Diamond Glaze (Judikins) to make it shiny. TIP - don't press your finger into it when you test to see if it is dry - just ignore that fingerprint!

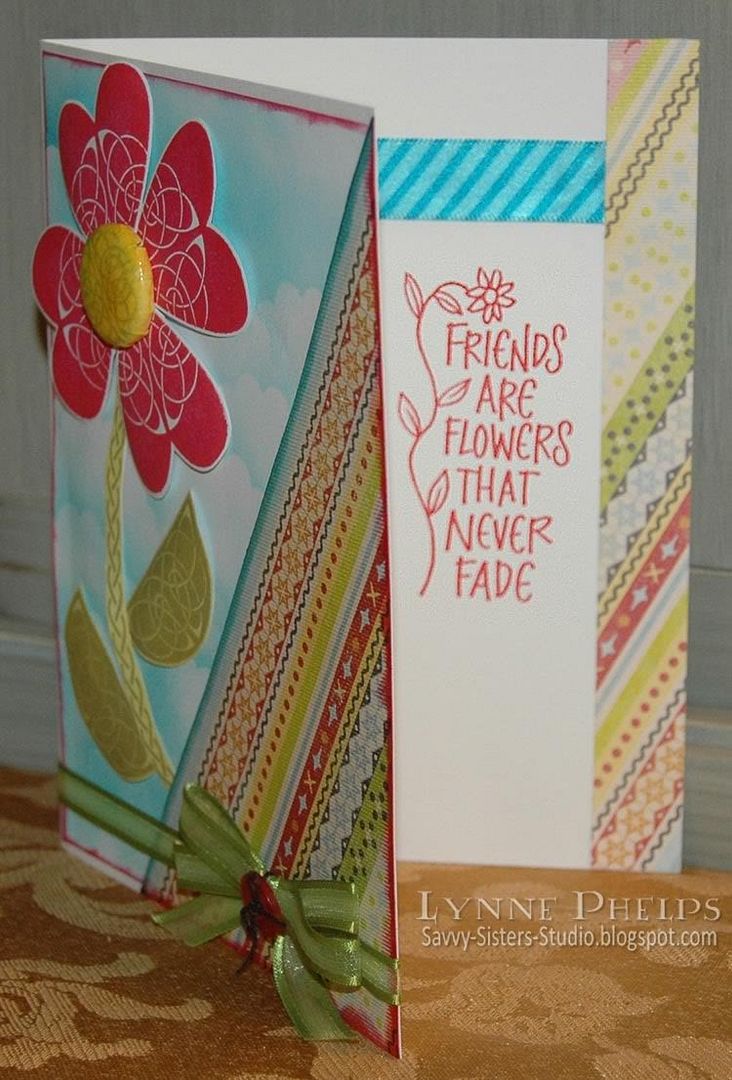
Photobucket - Celtic Flower Card Inside
On the inside, I pasted a leftover piece of the patterned paper and a strip of striped blue ribbon. The sentiment, "Friends are flowers that never fade" (Hero Arts) seemed perfect for this happy card!

Your next stop on the blog hop is the Stamping With Val blog!

I hope you enjoyed my Celtic Flower! Please leave a comment - your comments are what make blogging fun. Thanks so much for hopping by!
Related Posts with Thumbnails