"Twinkle, twinkle, little bat!Hello out there! It's a beautiful day here in Wonderland and a twinkling one at that! We are wrapping up one FABULOUS month with a super fun, no-pressure challenge! We are going to ring out the month of June with a Twinkle! That's right, just use something Twinkling, Glittery, or Sparkly on your card or creation this week and we'll put on our shades :D
How I wonder what you're at!"
You know the song, perhaps?'
`I've heard something like it,' said Alice.
`It goes on, you know,' the Hatter continued, `in this way:--
"Up above the world you fly,
Like a tea-tray in the sky.
Twinkle, twinkle--"'
Here the Dormouse shook itself, and began singing in its sleep `Twinkle, twinkle, twinkle, twinkle--' and went on so long that they had to pinch it to make it stop."
This is my last post as the Oh, Alice! June Guest Design Team Member. Next week they will announce the new July Guest Designer they'll have more tricks and treats up their sleeves....'til then, there's no time limit to play this week, so get your twinkle on and be sure to come back and let us know when you did!
And you will need shades for my card, LOL, as it is literally twinkling with GLITTER! I am WAY out of my comfort zone here, but my twinkle is not only on, it is incandescent! Unfortunately the photos only hint at the true glittering sparkle:
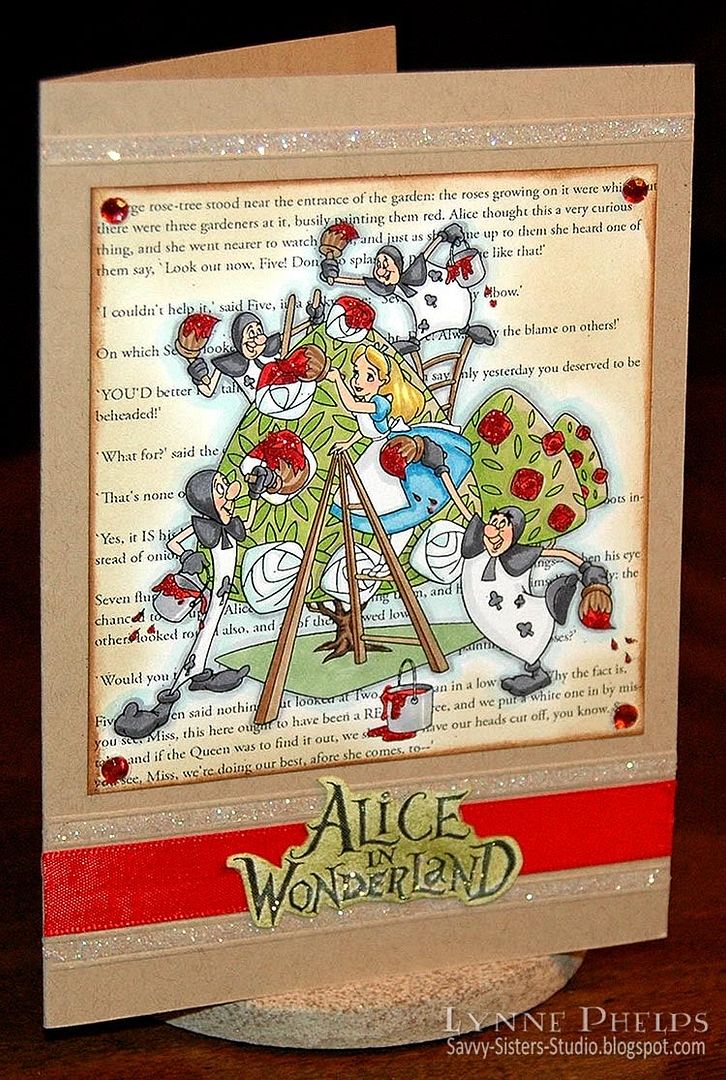
I decided my beloved Tenniel illustratons and twinkle were not the best fit; glitter and Disney's Alice seemed like a much more harmonious pairing! This image of Alice and the club cards painting the white roses red is from the online Disney Coloring Book. I brought it into photoshop and knocked out the background, so the characters and trees were still solid white, but the area around the image was clear. Then I coped the text of this scene from the book and put it on a layer behind the knocked out image. Perfect! It is as though the characters have sprung to life from the written word! I printed it on color laser printer paper and colored it in with Copic markers. What fun, to be an adult with sophisticated markers still having fun with a coloring book! I love it!
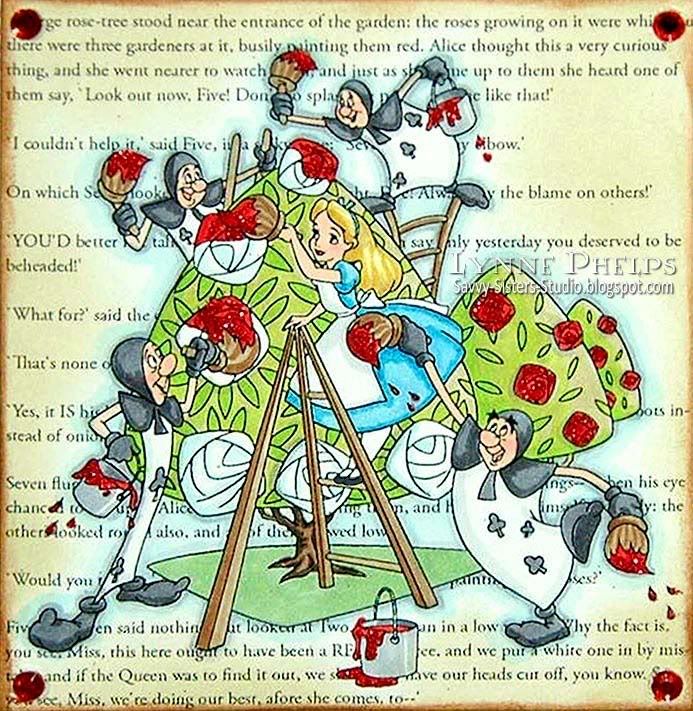
Then I sponged the bright white paper all around the drawing with Old Paper Distress Ink, followed by Vintage Photo Distress Ink. I don't know about you, but I usually don't think of Distressing and Disney in the same sentence! Somehow that made it all the more interesting when I added RED GLITTER to the paint areas - now they are painting those roses RUBY red. I used a Quicky Glue Pen to put glitter on the red roses and the paint brushes and buckets. Fun! I wish you could see how interesting this looks in real life, as though they are painting with fragments of sparkling rubies! I mounted the text and drawing panel and stuck four rhinestones in the corners that I colored with a Copic to match my ruby paint.
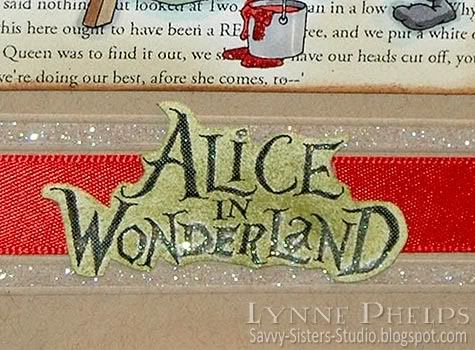
I used an oversized kraft card base and scored several pairs of lines so I could add glitter in between. I laid down a strip of 1/8th inch Scor-Tape and the glitter stuck like a dream. I got this idea from Nichole Heady's blog (Papertrey, Ink. part owner and main designer) and created a ribbon channel using the same method. I printed out the Disney Alice logo, sponged it with green, then ran over it with the glue pen and added pale blue translucent glitter.
Remember to get your sparkling, twinkling, shimmering creation entered at the Oh, Alice! blog, where you can also enjoy all the other design team members' creations! Thanks so much for visiting me during my June Guest Designer gig, it has been such fun for a true blue Alice fan like myself. Please leave me a comment, and have a very twinkling week!
Stamps: Digital image from DisneyKid's Stationary coloring pages
Paper: Papertrey Ink - kraft card stock; HP - bright white color laser printer paper.
Ink: Ranger Distress Ink - Old Paper, Vintage Photo, Peeled Paint; Copic - Sketch Markers.
Embellishments: The Paper Studio - rhinestone stickers; Stampendous - glitter; satin ribbon.
Tools: Score-Pal, Sakura - Quickie Glue Pen.