Monday, January 18, 2010

Hospitality House!

ETA: Edited to add that this card won a blinkie award from Stamping Sisters in Christ! It was one of the three "Shining Star" winners from this week's challenge.

My brother-in-law's parents always invite me to stay with them for Christmas. Since losing my own mother, they have really adopted me into their family and I appreciate them so much; they are such a blessing to me! I wanted the thank you card to be a little gift of my time that they could enjoy. I also wanted to play with my new Home Made stamp set (Papertrey Ink).
Thank you card
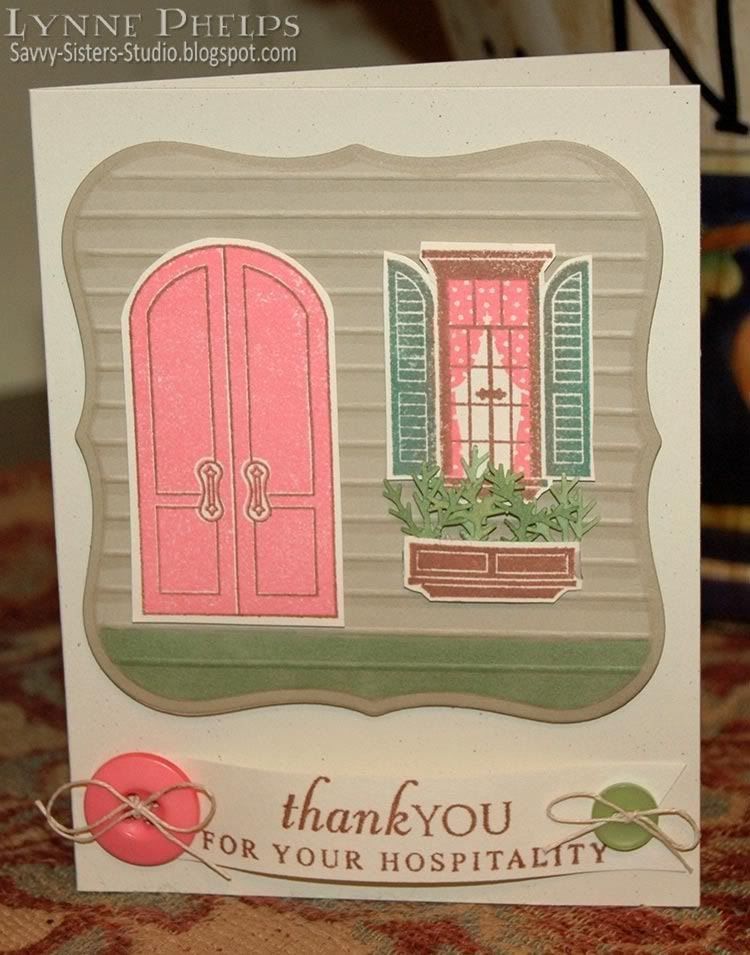
I enlarged on an idea I got from this PTI blog post. I started by cutting a Label One Nestability (Spellbinders) and scoring lines with my Scor-Pal to represent the siding, trying to stay out of the embossed edge area. I shaded underneath each score line with a warm grey Copic marker to add a shadow to enhance the clapboard effect. After I did that, I realized I should have left one line off near the bottom for my grassy area, but I just colored it all green with a Copic marker anyway, LOL!

On ivory cardstock, I stamped the door, window and window box. The images are all divided up - the lines are the door are one stamp, the solid color is another stamp. The curtains are separate from the window stamp. I only wish the shutters were separate; I had a hard time getting the color onto the right parts of the stamp as the shutters and window frame almost touch! LOVE this Home Made stamp set!
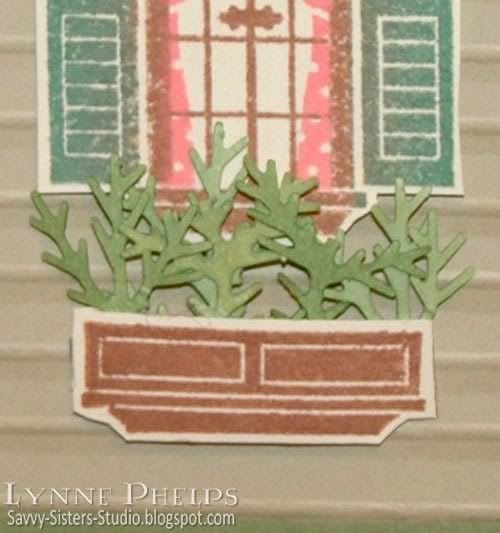
Window box close-up
Of course I really got into the details! I punched several "plants" with the Branch punch (Martha Stewart) and added them to my litte window box!
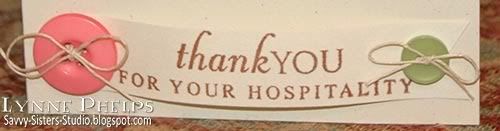
Sentiment
I stamped the sentiment in Rich Cocoa (Memento) and notched one end to form a little banner, then added a button at each end with glue dots. I curved it so it has some dimension which really adds a lot of interest!
This card is for the Stamping Sisters in Christ Challenge #22: Joshua 24:15 - "As for me and my house, we will serve the Lord." You had to make a card that was house related or a home decor item. It is also for Flourishes Timeless Tuesday Challenge #FTTC50: Stamp a scene!

I hope you enjoyed the card. Please leave a comment, I'd love to hear from you!

Wednesday, January 13, 2010

Harlequin Hospitality

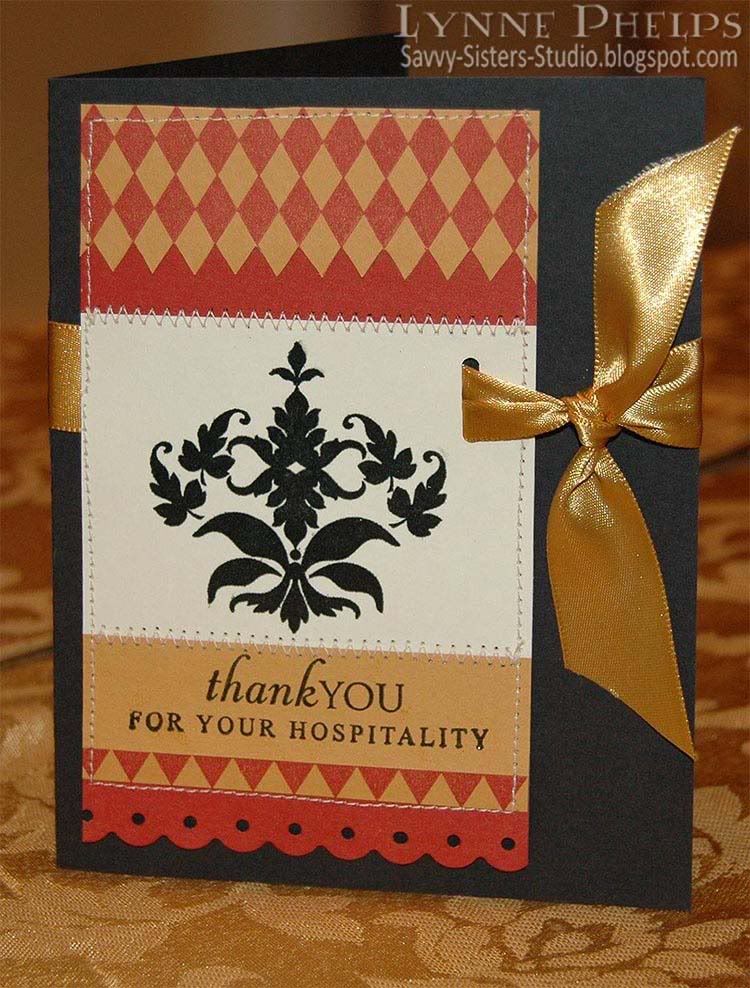
Our Sunday school class had an after Christmas party which was so much fun! The host and hostess had a wonderful home decorated in strong warm colors which I loved! The dining room was deep red and the chairs had ivory seat cushions with a black damask pattern. The adjoining living room had warm gold walls. She also had a lot of black wrought iron... So I guess you could say her home was the "trigger" that inspired this thank you card!
Thanks for your Hospitality
The base is a black 5" x 6.5" card. I stamped the damask image (Papertrey Ink - Damask Designs) by first inking the stamp with Versamark, then with black dye ink (Memento - Tuxedo Black). I heat embossed it with clear detail powder (Ranger). I used the same technique to stamp the sentiment (Papertrey Ink - Home Made). I then stamped a harlequin diamond image (Stampers Anonymous) in red dye ink (Marvy - Crimson Lake) on ochre cardstock (Stampin' Up! - More Mustard). I did not have any cardstock in the red I wanted, so I used the Crimson Lake ink pad in a direct-to-paper technique on another piece of More Mustard cardstock, which I used under my harlequin zig-zag edged piece and at the border-punched bottom edge (Fiskars). This way it perfectly matched the stamped image.

After that, I took a scrap piece of cardstock and assembled all my pieces on it. I cut up my stamped diamond piece to create a zig-zag edge, and trimed another small strip so I would have a row of triangles. I sewed a straight-stitch around the edge, then zig-zag stitched between the pieces. I LOVE this look! I finally broke down and bought a Janome Sew-Mini at Hancock Fabrics and love the texture it adds to the card!

I punched a slot (Stampin' Up!) in the focal point piece, then cut a slit in the fold of the card base so I could wrap the ribbon all the way around the front of the card. I then tied a knot and trimmed the ends of the gorgeous gold 7/8" double-faced satin ribbon (Hobby Lobby).

I am so happy with how this card turned out that I don't want to give it away! But I will, I sure hope they love it. Do you have any cards you have been unable to give to the person for whom you made them? Please leave me a comment and let me know!

Saturday, January 9, 2010

Thanks Dad for the New GPS!!

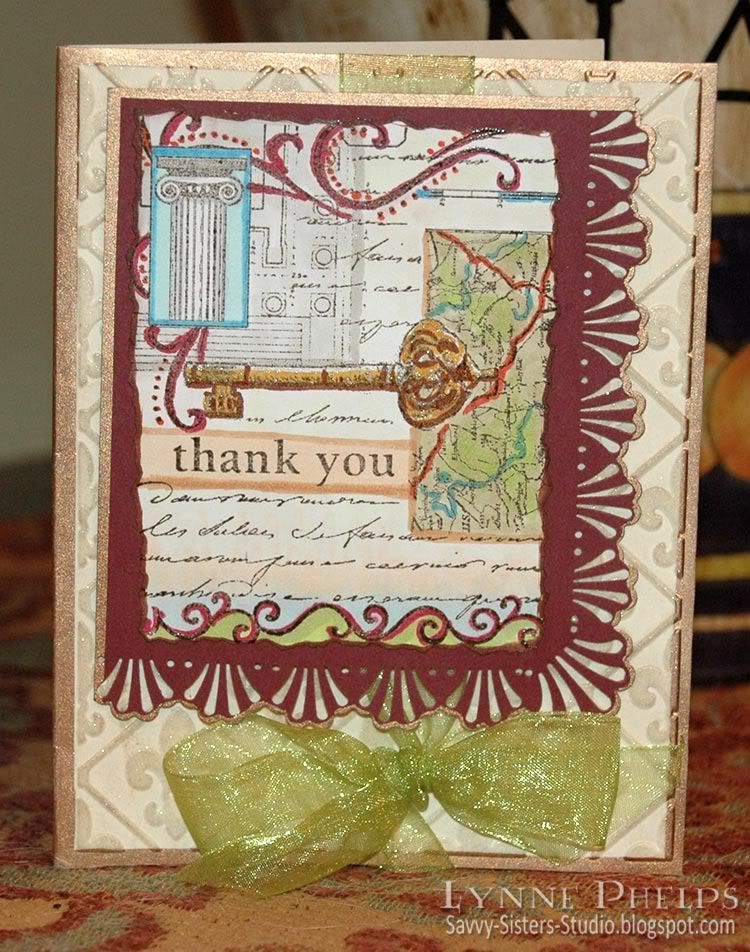
My wonderful father happens to be a techno-junkie, so anytime he picks out a "toy" for Christmas you know it is going to be great! My new Garmin 855 widescreen has voice commands and lane assist and is my new favorite thing! I thought this Thank You collage stamp (Hero Arts) that included a key and a map was very appropriate to use on his thank you card!
Thank You Collage Card
First, I embossed the ivory background with a Fleur-de-Lis folder (Cuttlebug) and then brushed the raised areas with a Champagne Dazzle pad (Versamark). I love the subtle glimmer this gives the embossing, and the watermark ink darkens a bit also, which really enhances the pattern. I then ran a Pale Gold leafing pen (Krylon) around the edges.
Then I stamped the Thank You collage image (Hero Arts) on color laser printer paper. I colored it with Copics, and highlighted the key with a clear glitter pen (Sakura Stardust). I roughly trimmed it with a deckle scissors and then ran a brown Copic marker around the edges. This was mounted on a piece of Bravo Burgundy cardstock (Stampin' Up!) which I had punched with a Deco Shell Around-the-Page punch set (Martha Stewart). The edges were highlighted with the Pale Gold metallic pen (Krylon).
Photobucket
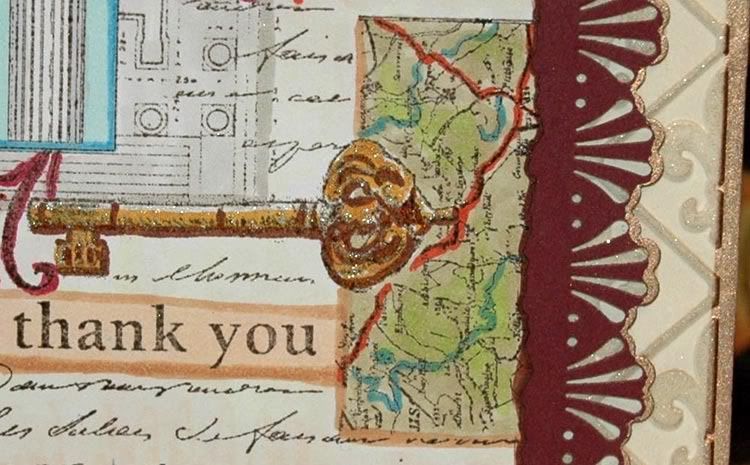
You can see some of the detail here. You can see a bit of the Dazzle shimmer on the background and the Stardust glitter on the key. I love it that the image has a key and a map in it - perfect for the GPS mapping system that I use in my car, which requires a key! Plus this image is very suitable for male recipients!
It needed a little punch of color, so I tied a green organza ribbon around the base before mounting the punched panel with dimensionals.
As Claire would say, hope it tickles!
Related Posts with Thumbnails