


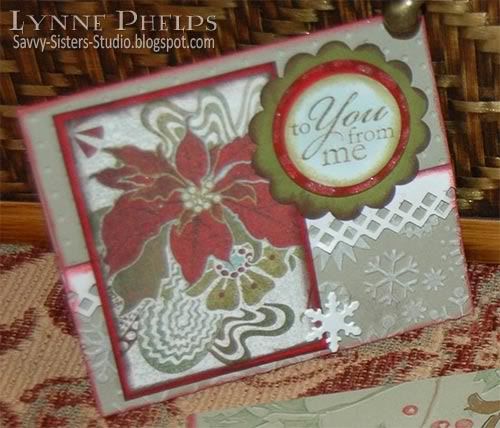
These gift card holders are each made of a strip of 8½ inch paper (SU Mellow Moss or Old Olive) folded twice to create a pocket and a flap. It was super quick to do on my Scor-Pal! The bottom flap is folded up and secured on both sides with tape runner or brads and a brad or slit holds the top flap closed. A border punched strip (Fiskars) is adhered to the edge of the top flap. All edges are sponged.
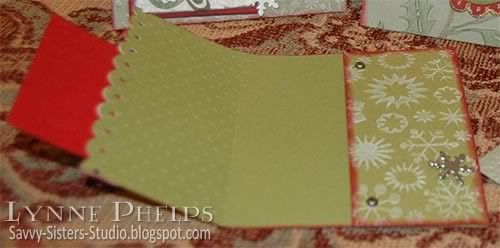
I cuttlebugged each one twice as they were too long to fit in the folder. Except for the holly holder, each pocket flap is embossed with a different folder than the top flap. The score lines showed me where to place the paper in the folder, so the patterns start and stop in the right place.
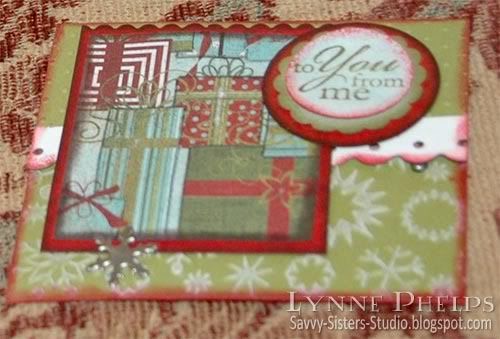
Except for the holly version, they all have a cardstock panel with decorative cardstock adhered to the top flap (SU Real Red & Basic Grey - Figgy Pudding) which is held shut with a decorative snowflake brad or a curved slit. The back is also covered with Red/DP panels.
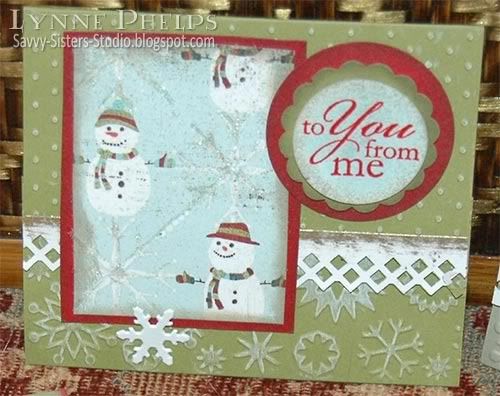
All have "To You from me" (Stampin'Up!) stamped, punched, and edges sponged, popped up on dimensionals on top of a larger punched circle and/or punched scalloped circle.
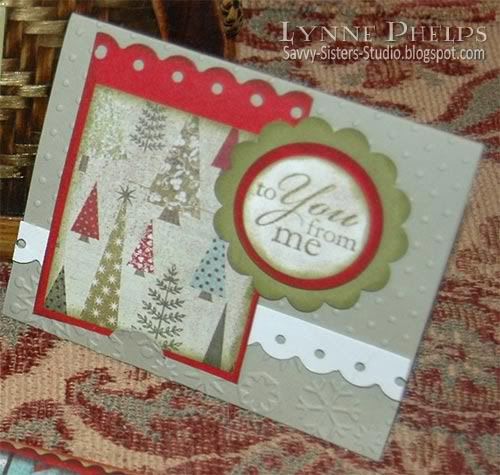
I enhanced the cuttlebug embossing on most of them by shading the raised areas with a white Prismacolor pencil.
The holly holder is a little different. The Cuttlebug holly folder is so beautiful that I did not need any decorative paper to enhance it. I Cuttlebugged the back and top flap in the first pass, and the pocket flap in the second pass. I lightly shaded the raised areas with green, red, and brown Prismacolor pencils. Then I stamped and gold heat embossed flourishes (Indadinkado Flourises set) in the open areas, then outlined the gold flourishes with a black pen. The scalloped circle was gilded with a gold Krylon leafing pen.
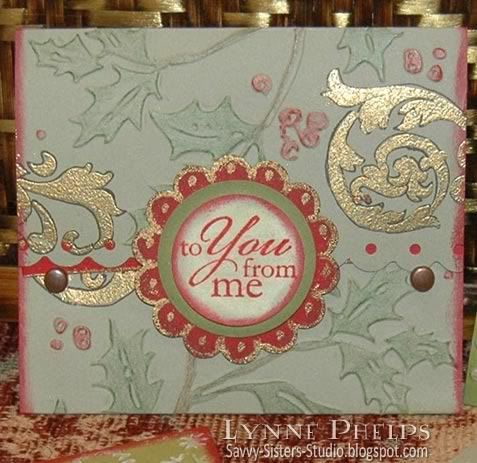
I wish I had noticed that the red edge I put behind the scallop had slipped up on one side - I should have retaped it before taking the photo. This provided a straight edge to fasten under the two brads.
Please leave a comment - I would love to hear what you think!


No comments:
Post a Comment
I love to hear from you, as your comments are what make blogging worthwhile! Click PREVIEW first, then hit POST. If you use Anonymous, please sign your name in the comment so I'll know who it was from!