Friday, April 30, 2010

Happy 1st Birthday Waltzingmouse!

Waltzingmouse Stamps is one year old! Happy Birthday! Claire is releasing eight new stamp sets May 1, and if you order on May 1-2 you get free international shipping with an order over 50GBP (approx. $77). That is really something to celebrate! Claire has a sketch challenge contest, with the  prize being all 8 sets in the new release. Here is the sketch:

And here is my card:


Photobucket


The card base and the panel embossed with Textile Pattern (Cuttlebug) are Creamy Caramel (Stampin' Up!). The center panel is Natural Confetti cardstock (SU), cut out with a Lattice Pendant die (Spellbinders) and sponged with Vintage Photo (Distress Ink - Ranger). The embossed panel and punched flower centers were also sponged with Vintage Photo. The sentiment is from Waltzingmouse's Earth Angel set, one of my faves!

Photobucket


The flowers are silk, from a big autumn assortment (Imaginisce) and are designed to be used to make flowered brads with the iTop tool. I used a small punched flower and antiqued gold mini-brad as a center instead.


Photobucket


Of course you can't forget the inside! I added a couple more of the small punched and sponged flowers, coloring in the centers to coordinate with the flowers on the outside. I love this sentiment by Hero Arts! It had a turtle on the same clear stamp but I trimmed it so the words and turtle were two separate stamps.

This card is also for my sister's mother-in-law, Sparky! Happy birthday Sparky!

I hope you have lots of birthdays too - they really are good for you! Please leave a comment, I treasure them all. It really makes my day when I hear from you!

Wednesday, April 28, 2010

Relay Thank You Cards - Hand tinting B&W photos

Photobucket

I am on a Relay for Life team this year in memory of my mom, so I wanted to send a special thank you to my donors that featured my mother.

Photobucket

I had a photo of her college portrait (which you can see near the bottom of this post) which I cropped, converted to grayscale and printed several copies out on my B&W laser printer. Then I colored in her image with Copic markers. This gave the lovely vintage look of old time hand-tinted photographs! It also allowed me to match the background and her clothing to my card.

Photobucket

I stamped the background Sage Shadow cardstock with French Flair (both Stampin' Up!) with Versamark and heat embossed with clear detail powder (Ranger). I sponged around the edges with Walnut Stain (Distress Ink - Ranger) and perforated around the edges with my new mat pack (SU)! I cut a slit along the fold of the card and wrapped the cardfront with ribbon. I used my new Tiny Tags stamps and punch (SU) and threaded my little tags with fine hemp which fastened to the ribbon, then I added a bow (thank you Bow-Easy)!

I cut out the hand-tinted photo with a Label Four nestie (Spellbinders) and used the next size up to cut out some brown Core-dinations cardstock. I used the Textile folder (Cuttlebug) to emboss and sanded it while it was still in the folder, then tinted the high points with a Copic marker to match the background. I attached this with dimensionals to the card front.

Photobucket

Can't forget the inside! The ribbon and perforations show on the left, and I stamped a beatiful thank you (Illuminations set - SU) in Rich Cocoa (Memento) on the right.

The photos are not too hot, but the cards are so lovely in real life. The recipients all knew my mother and will find this card with a picture of her when she was young to be a lovely keepsake.

I would love to hear from you - please leave a comment!

Tuesday, April 20, 2010

Clips n Cuts perpetual blog hop - You can join too!

I joined the Clips n Cuts perpetual blog hop--how FUN! Thanks to Vicky! What a wonderful way to celebrate her 100th blog post - a blog hop of all her readers, and her readers' readers, and her readers' readers' readers. . . LOL!

You can join too! I am number 126, but who knows how long the blog roll will be by the time you see it! It is always fun to see new blogs.

That's it! What a great way to explore some new blogs! Vicky is hoping to get up to 1000 in her blog roll!

Come on in, the water's fine!

Monday, April 19, 2010

Great Gifts - Stamped Picture Frames

You can take a dollar store frame and turn it into a wonderful gift by stamping on it! I have several examples here that I made for my niece, who is in the Chi Omega Sorority. Their mascot is an owl, and their colors are cardinal (red) and straw (yellow). Check out these charming picture frames ready to hold some of her favorite college memories!

Photobucket

This first frame was from the Dollar Tree. It was really nice for the price - it is real wood stained black and has openings for four pictures. The great thing is the surface of the frame is perfectly flat - excellent for stamping. I stamped the owl (Birds Galore 97625 - Inkadinkado) and Chi and Omega Greek letters (Greek WP32 - IO) in white pigment ink and heat embossed with white embossing powder. Then I stamped my favorite flourishes (Flourishes 97495 - Inkadinkado) set all around the edges with white Stazon. Then I added some fun googly eyes on the owl and black and white ribbon to complete the frame. It is much cuter in real life than in this photo!

Photobucket

This frame is from IKEA, and its face is also flat - perfect for stamping! I used the same Flourish set as on the black and white frame, which also includes this cute owl on a flourished branch! The flourishes and owl are stamped with black Stazon. The Greek letters and the word "SISTERS" (Alphabet set - Martha Stewart) are heat embossed with black powder.

Photobucket

Another IKEA frame - they come in lots of bright colors! No embossing on this one - it is all stamped with red and black Stazon. The cute owls (Hero Arts) are from a little boxed set of wood mounted stamps.

Photobucket

This one is different as the stamping was done on cardstock first. The frame is from Dollar General, and it has a raised rim. The area within the rim is flat, and I glued all kinds of words, ribbons and buttons. The words are all from a single large background stamp (Word by Word - Stampin' Up!) that I colored with Prismacolors and cut into separate words. One thing I would do differently is select a different glue - my tacky glue dried white rather than clear. :-(

Picture frames make wonderful gifts, and are especially fun if you tailor them to your recipient! It would be fun to do some for Mother's Day and Father's Day. Deer and nature sets or tools for Dad, Fashion or Flowers for Mom!

Photobucket

And just in case you were wondering, my feline photographer's assistants are still on the job! Beignet is scrutinizing the whole setup with an eye to every detail!  Now you know why I crop my photos so closely, LOL!!!

Do you have any fun frame decorating techniques to share?  Please leave a comment!

Thursday, April 15, 2010

PTI Guide Lines - Making Your Own Patterned Paper

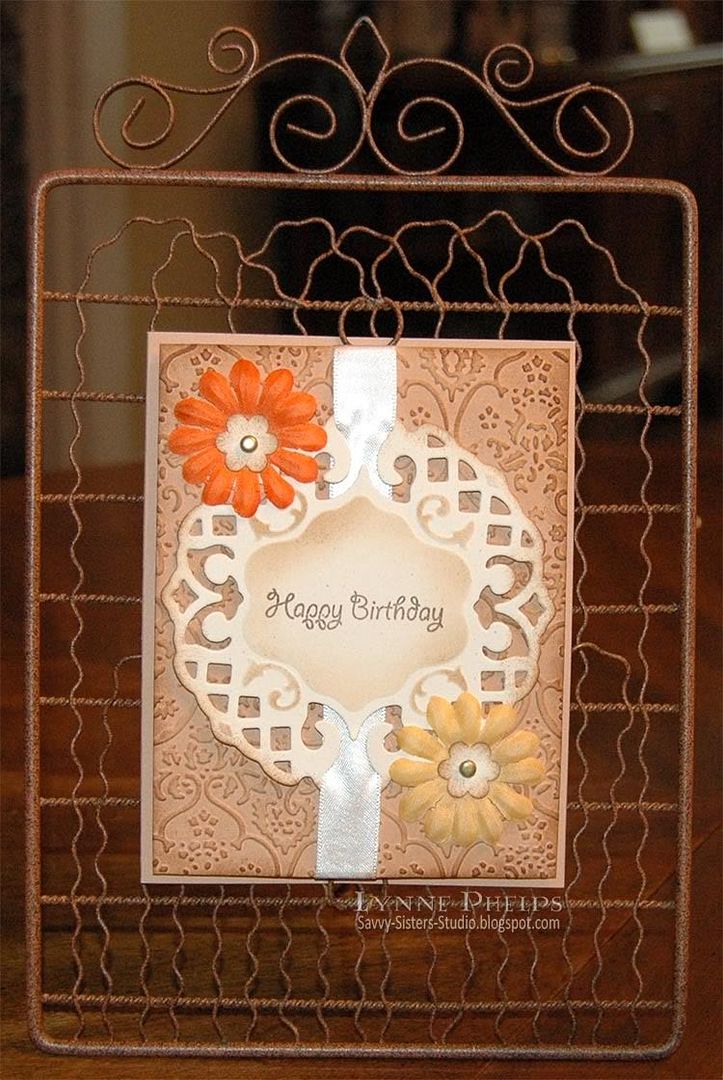
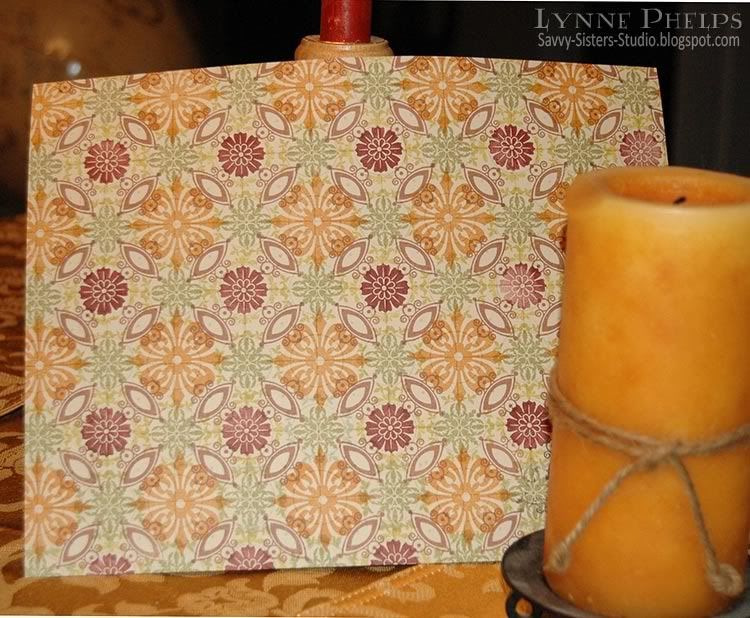
I hate to buy patterned paper, because I hoard it. After all, if I use it, I won't have it any more, and what if I fall in love with it and then it is discontinued and I can't get any more? So the ability to design my own patterned paper, that I can endlessly recreate if I want to, is very appealing! Here is my very first piece of patterned paper, designed by me, and created with Papertrey Ink's Guide Lines sets: Guide Lines, Guide Lines Two, and Giga Guidelines.

Photobucket

Guide Lines comes with a stamp of a grid divided into squares, and several square shaped motifs. For this paper, I used the grid from Guide Lines Two, which incorporates both circles and squares, and comes with a set of round motifs. Giga Guide Lines has several of the motifs from Guide Lines Two blown up to a large size plus many useful sentiments.  I used motifs from all three sets to make this paper.


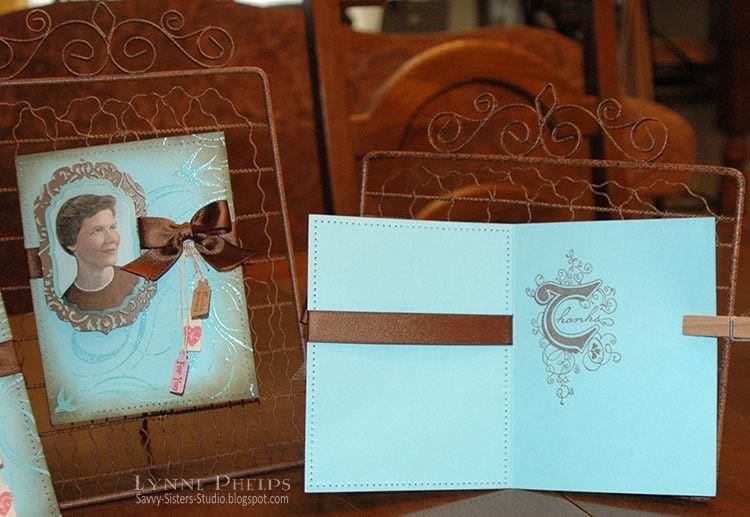
First, I stamped the circle grid in pale gray, covering the whole page. Then I started with the small round olive green motifs stamped in diagonal rows. Next came the mahoghany round motifs stamped in straight rows, every other space. Then the large giga motif in golden ochre.  At that point it was pretty but static - it needed a little movement. So I used my favorite motif from the original set in brown - the eye-shaped open motif. I stamped in diagonal rows, first towards one corner, then towards the other. This really made it come alive! I wanted to fill in a little more - I'm tellin' ya, this is an addictive process - so I used some of the wreath motifs to surround the olive green and mahoghany motifs with a pale old gold color. All inks were Marvy Matchables with the exception of the mahoghany, which was a Ranger Distress ink, and the pale gray Lake Mist for the grid, which was a Ranger Adirondack ink. I started on a stone colored cardstock.

Photobucket

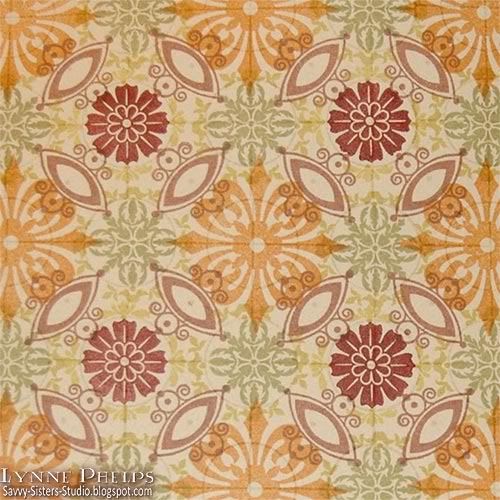
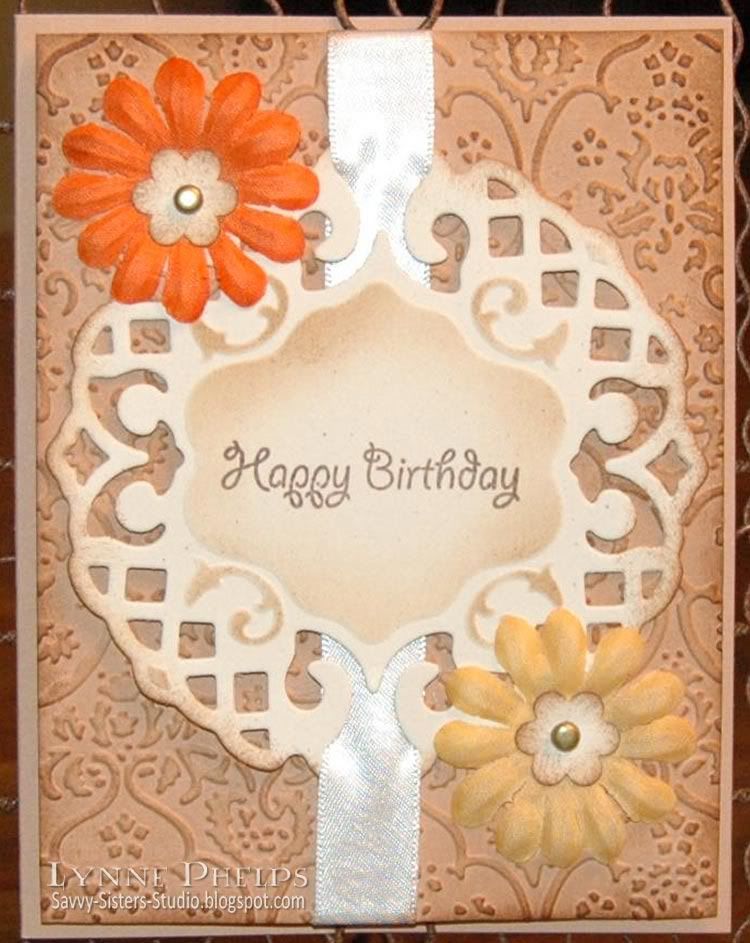
I think you can see some of the detail and the grid in this closeup. I can't tell you how soothing and mesmerizing it is to build up these patterns, or how difficult it is to stop!!! I jotted down the colors I used on the back of the cardstock, so I'll know in the future how I got this combo! Now the big question is, can I cut into it to make some cards?  I am pretty in love with this paper as-is, I gotta tell ya! Hopefully I'll get over it, because I can always make more!

I think the newly released PTI background set, A Little Argyle, could be just as addicting. It will definitely be in my next order!  Hmm. Then there is Polka Dot Basics Two, and that new Woodgrain background building set. . . Like I said, I'm addicted to background stamps! 

What are your favorite go-to backgrounds?
Related Posts with Thumbnails